Automated Lab Configuration Creation
print("Hello")This year, I’ve been involved in a network engineering project that has required fairly risky configuration changes. In order to test our proposed configuration changes, we built a virtual large scale lab with a number of eve-ng hypervisors and hundreds of routers. The virtual lab mimics our production routers as close as we possibly can. It’s become increasingly difficult to keep the virtual lab in sync with production routers. In order to make this process easier, I’ve been developing prod2lab. Prod2lab allows engineers to define a device pair (a prod and lab device), map production interfaces to lab interfaces, and generate a configuration that one can put onto the lab device. In this blog, I’ll introduce prod2lab, discuss how it works, and layout my plans for its future.
Prod2lab is a python app that utilizes the django web framework. Setting it up is pretty simple.
1) clone the repository.
git clone [email protected]:netdevops/prod2lab.git
2) enter the directory.
cd prod2lab/
3) setup a python virtual environment
python3 -m venv env
source env/bin/activate
4) install the python required packages
pip install -r requirements.txt
5) start a rabbitmq instance. I do this in docker.
sudo docker run -d --name rabbitmq -p 5672:5672 rabbitmq
6) start the celery task queue.
celery -A prod2app worker -l info -D
7) verify that celery has started.
celery status
8) run the database migration
./manage.py migrate
9) create the admin user
./manage.py createsuperuser
10) start prod2app
./manage.py runserver
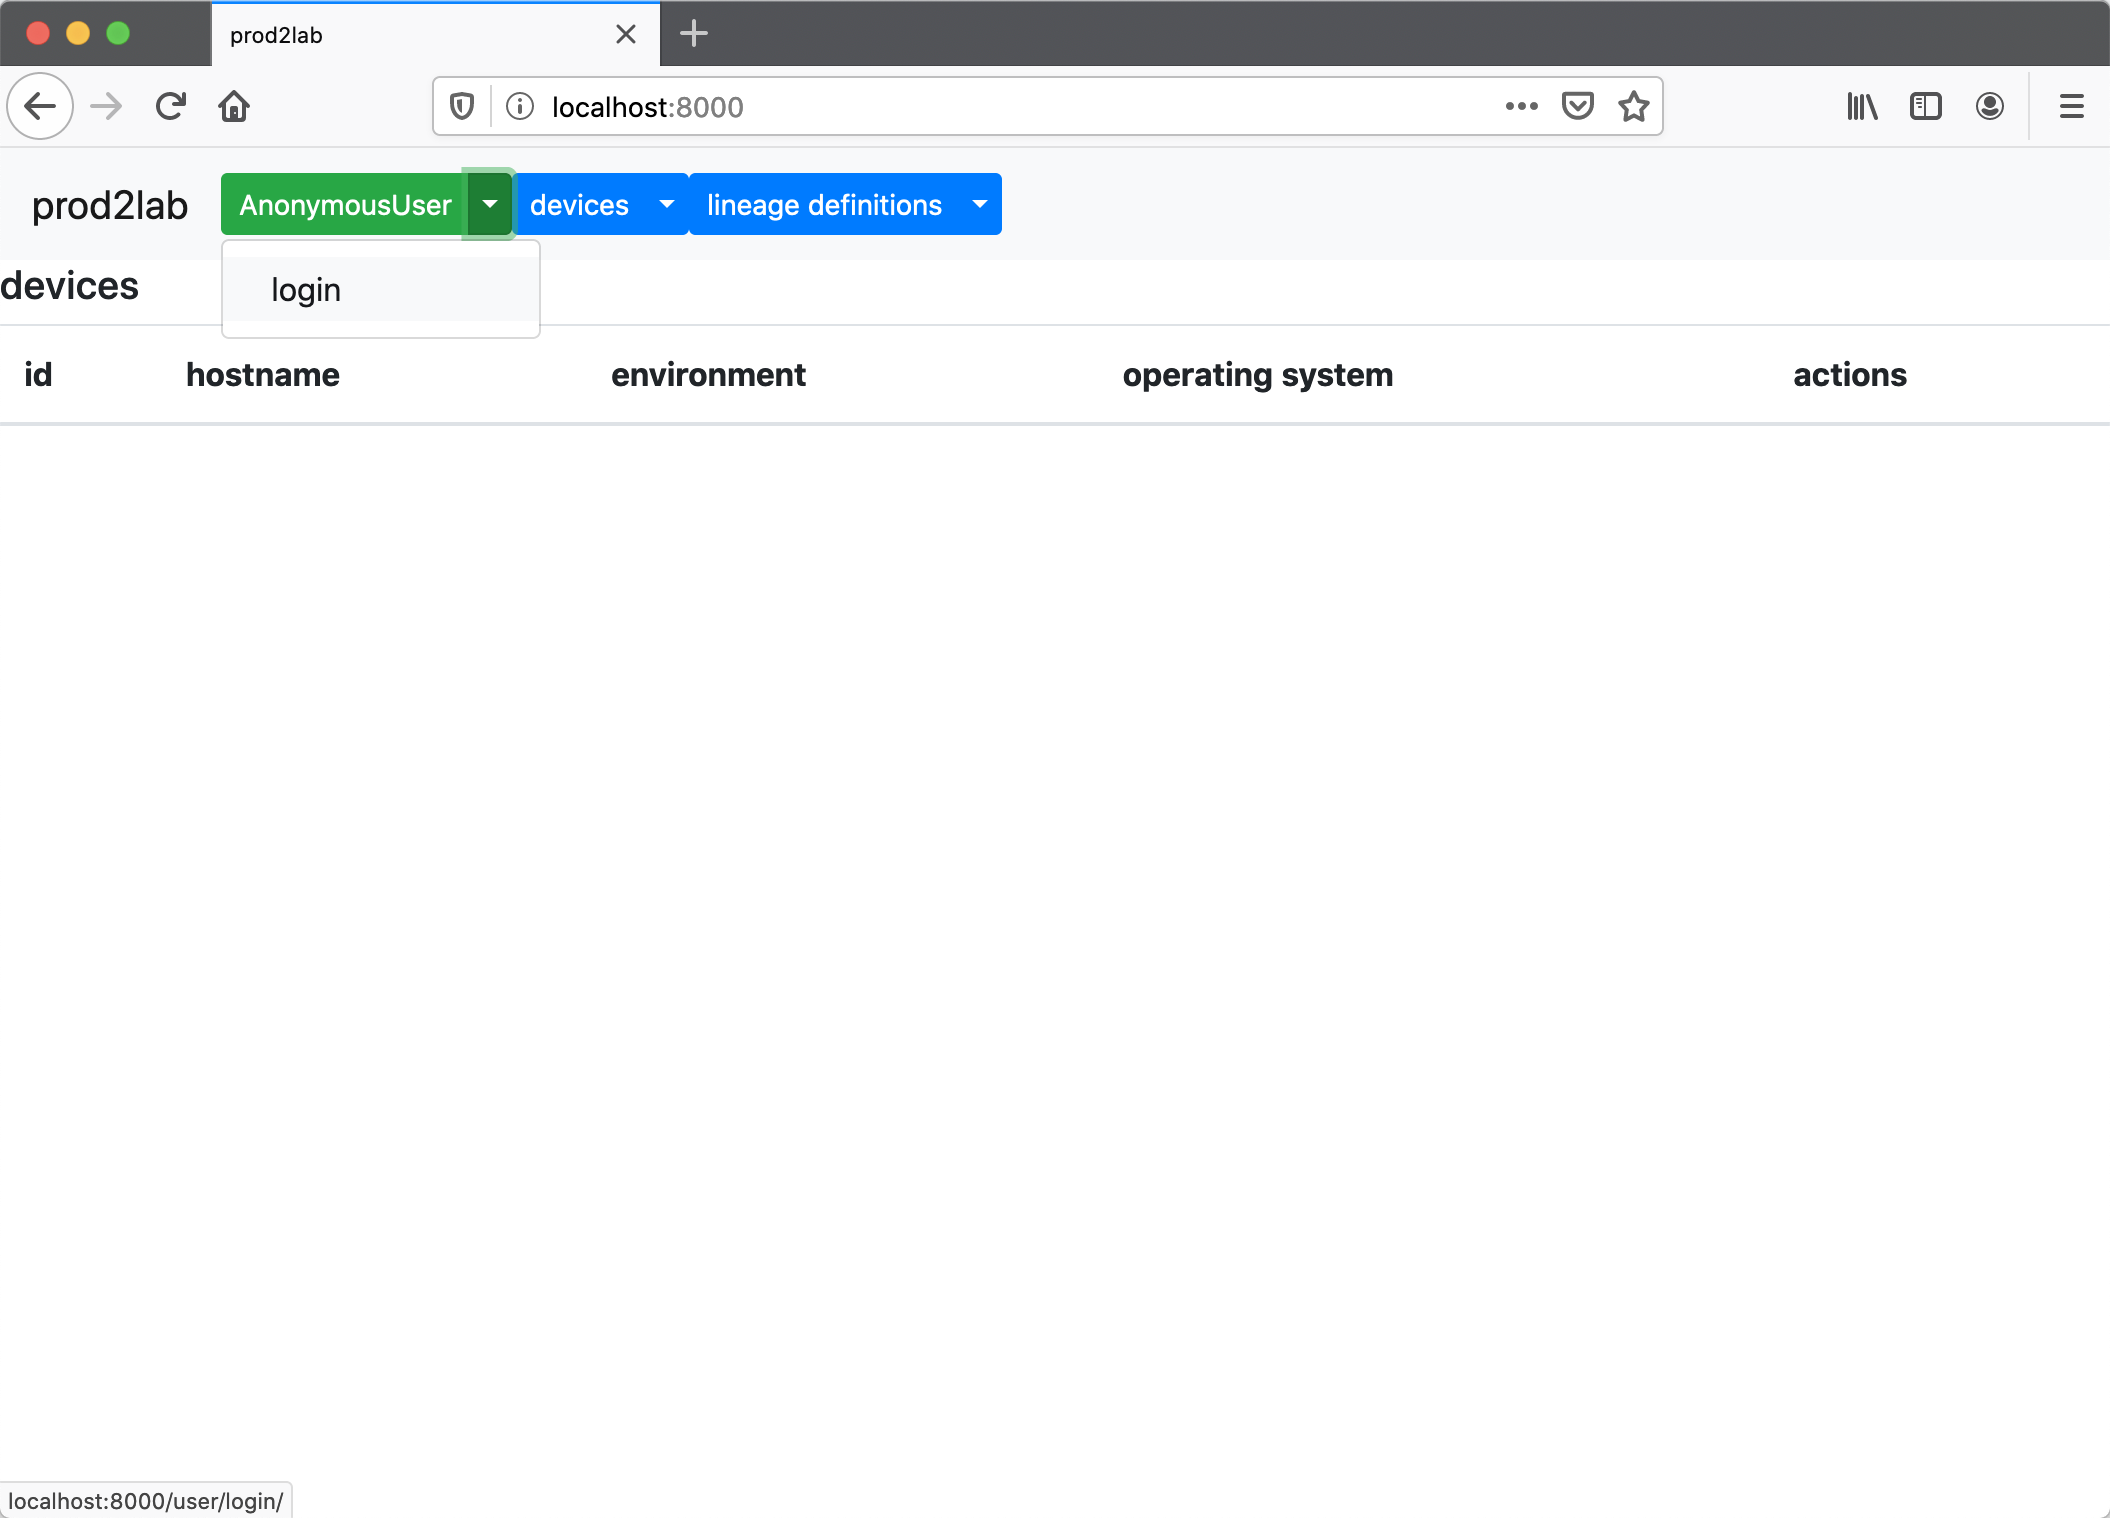
At this point, prod2app is ready for use. The first thing you’ll want to do is access web interface at http://localhost:8000. You’ll notice is that you’re logged in as an anonymous user. As anonymous, you won’t be able to accomplish anything except view the home page. You’ll need to login.
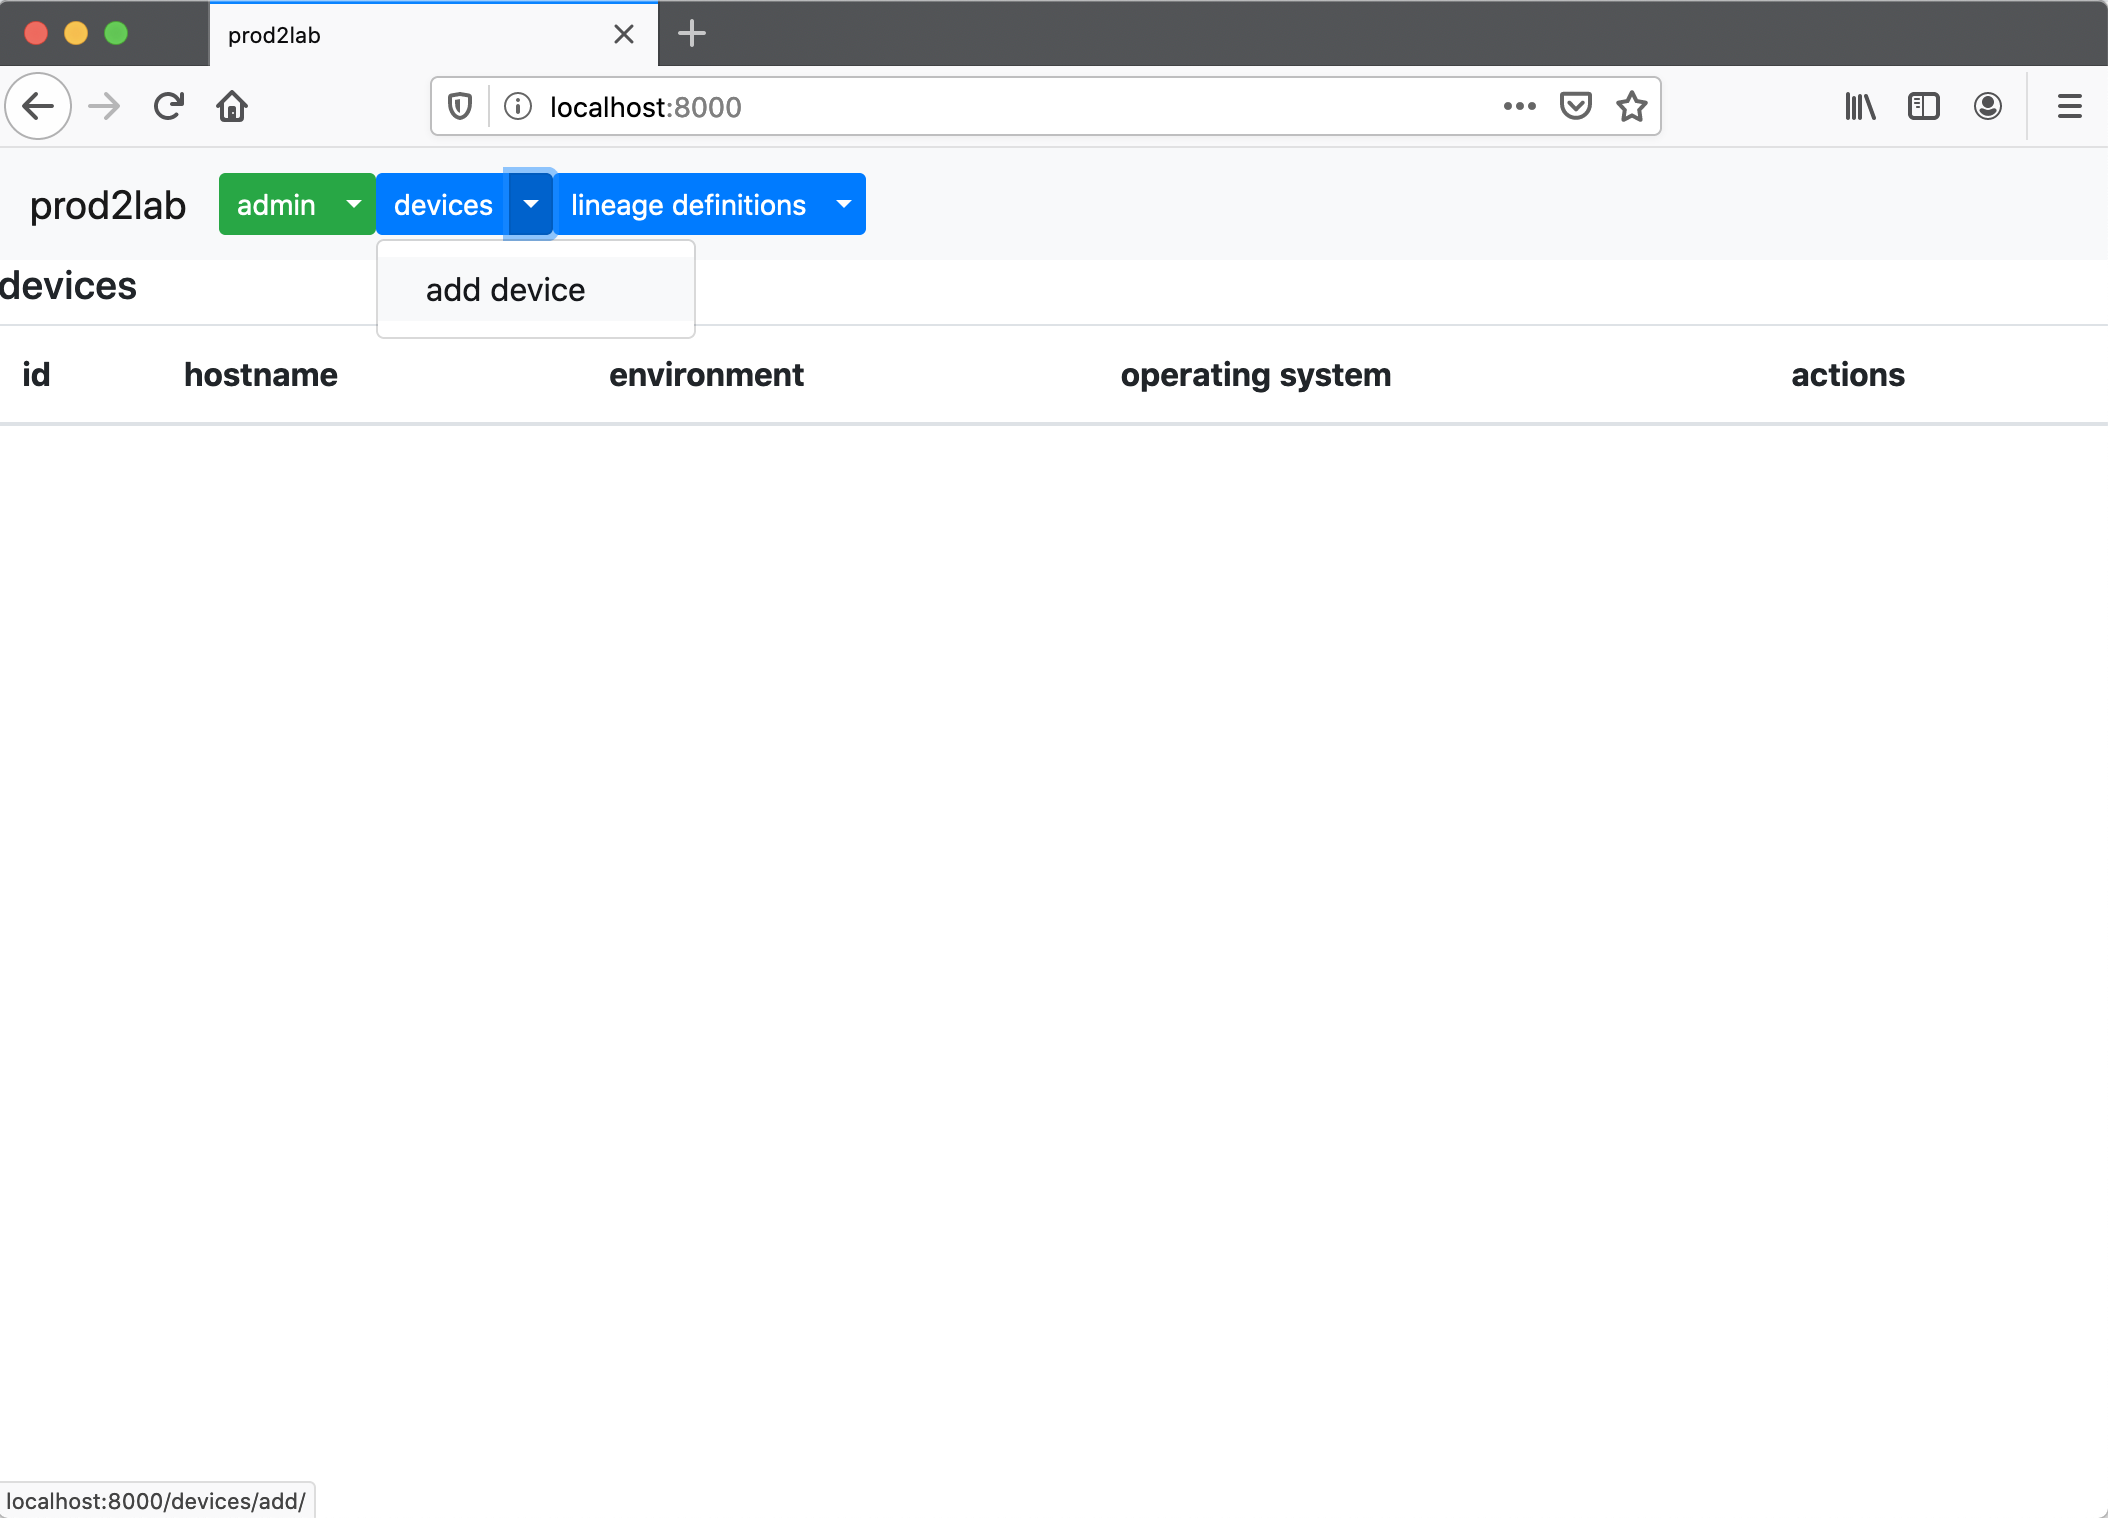
Once logged in, you can create a device. Creating a device will actually create two devices, a PROD and LAB device. These devices are associated in the database.
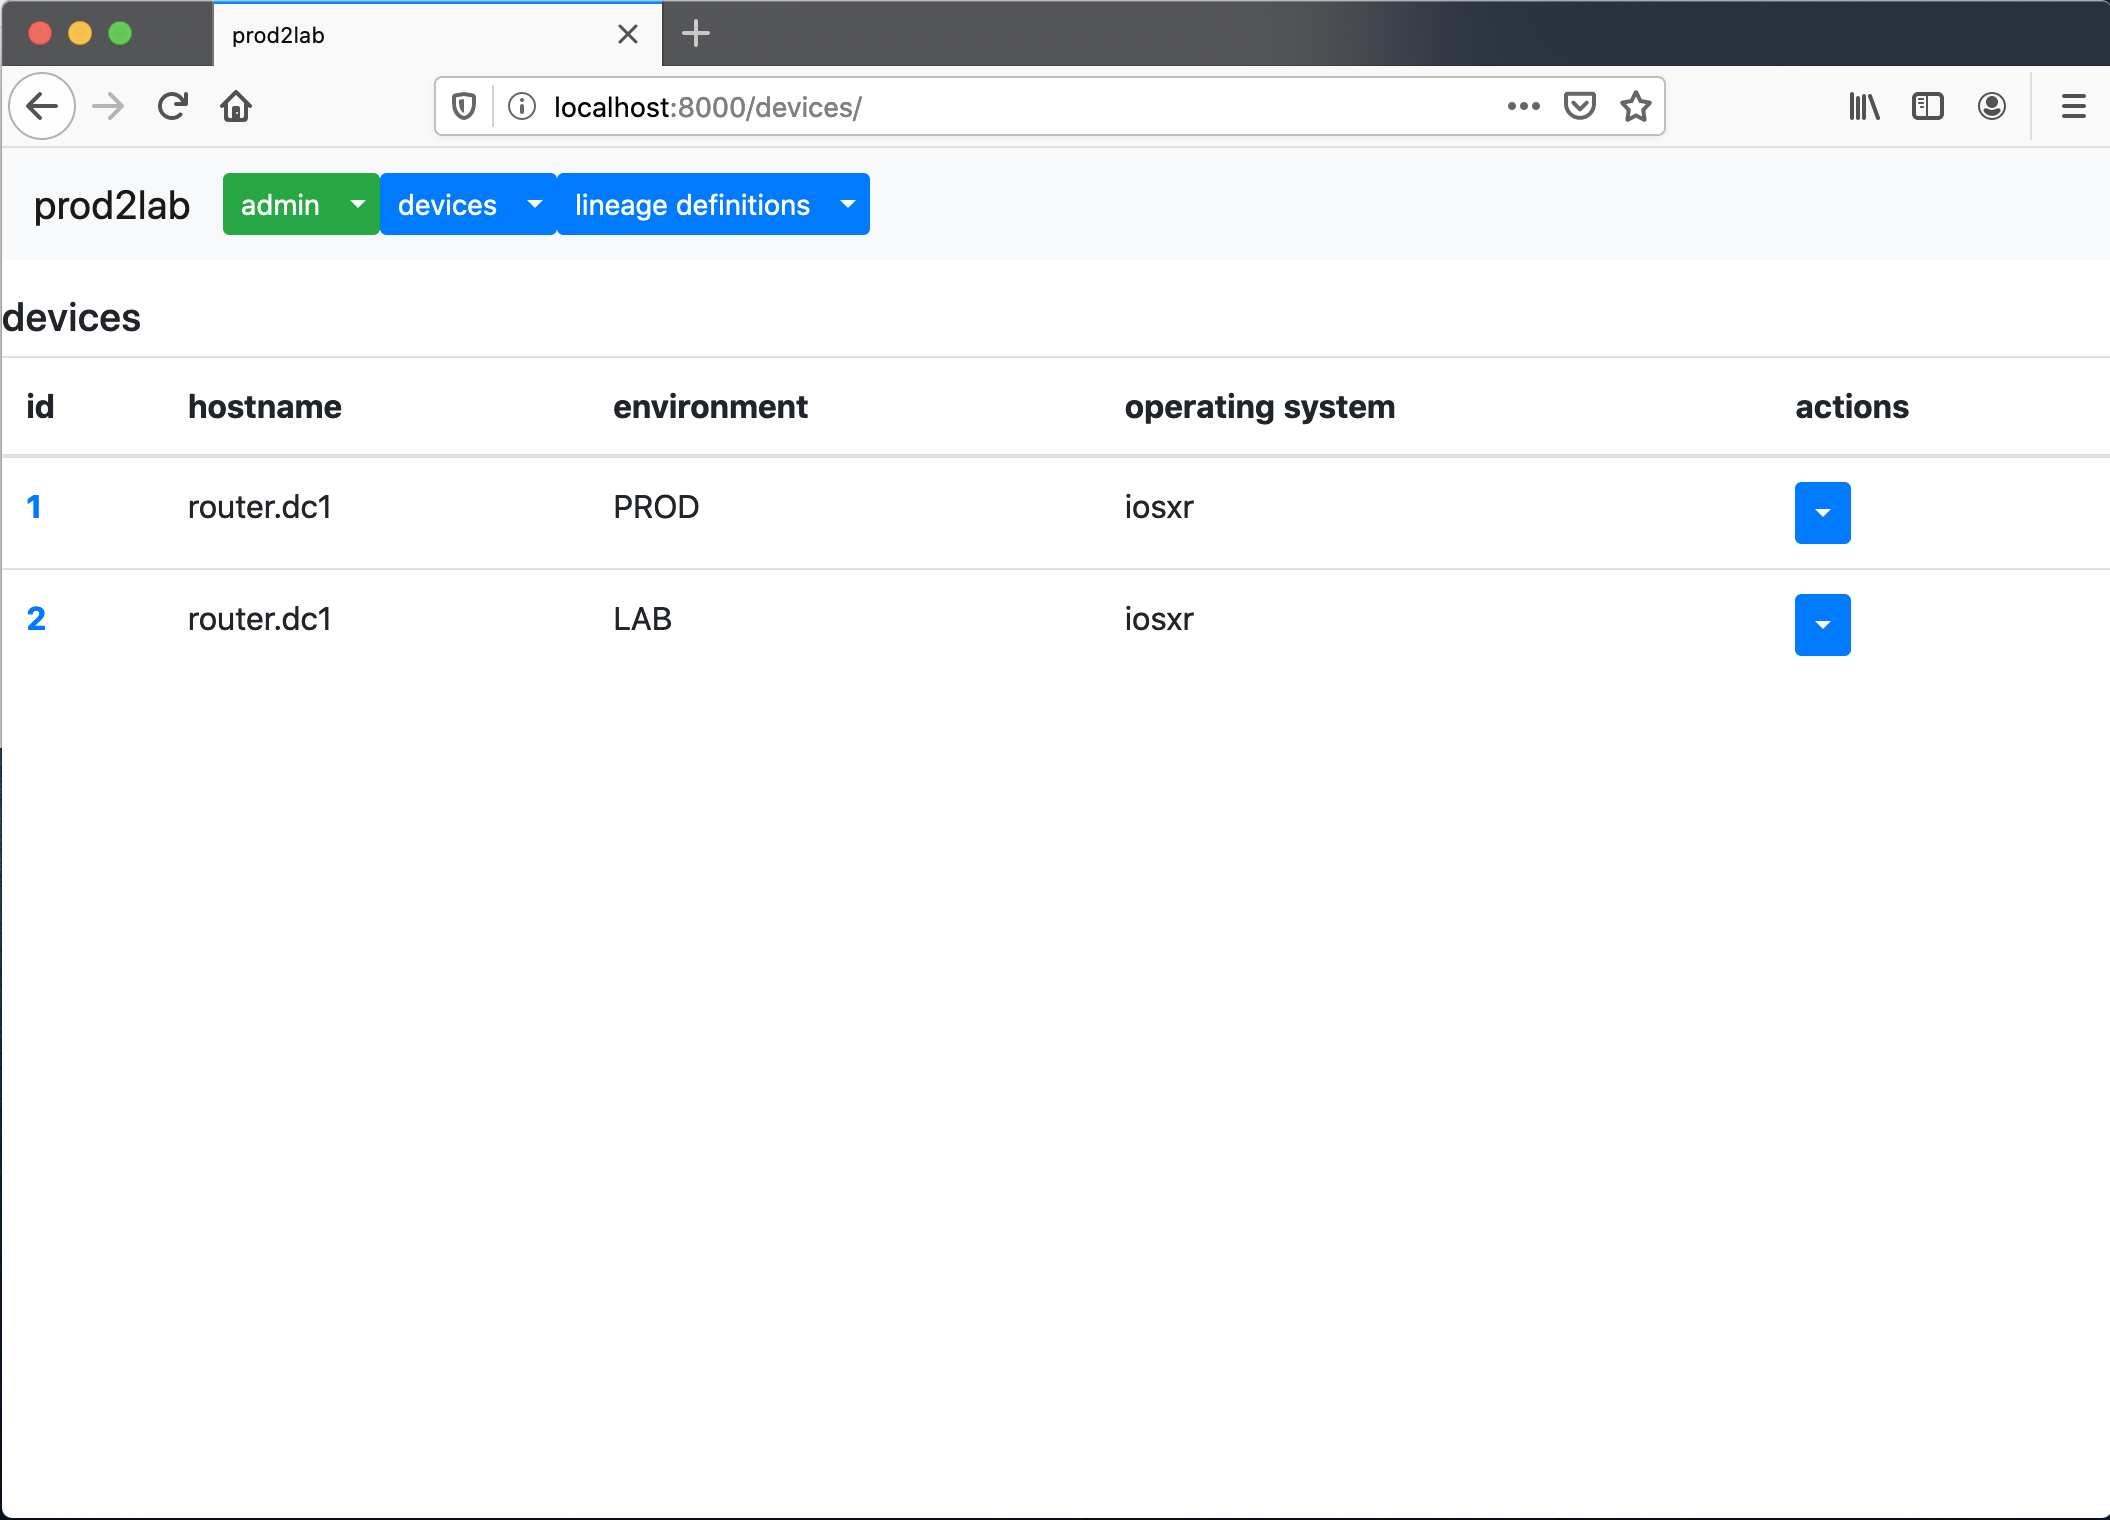
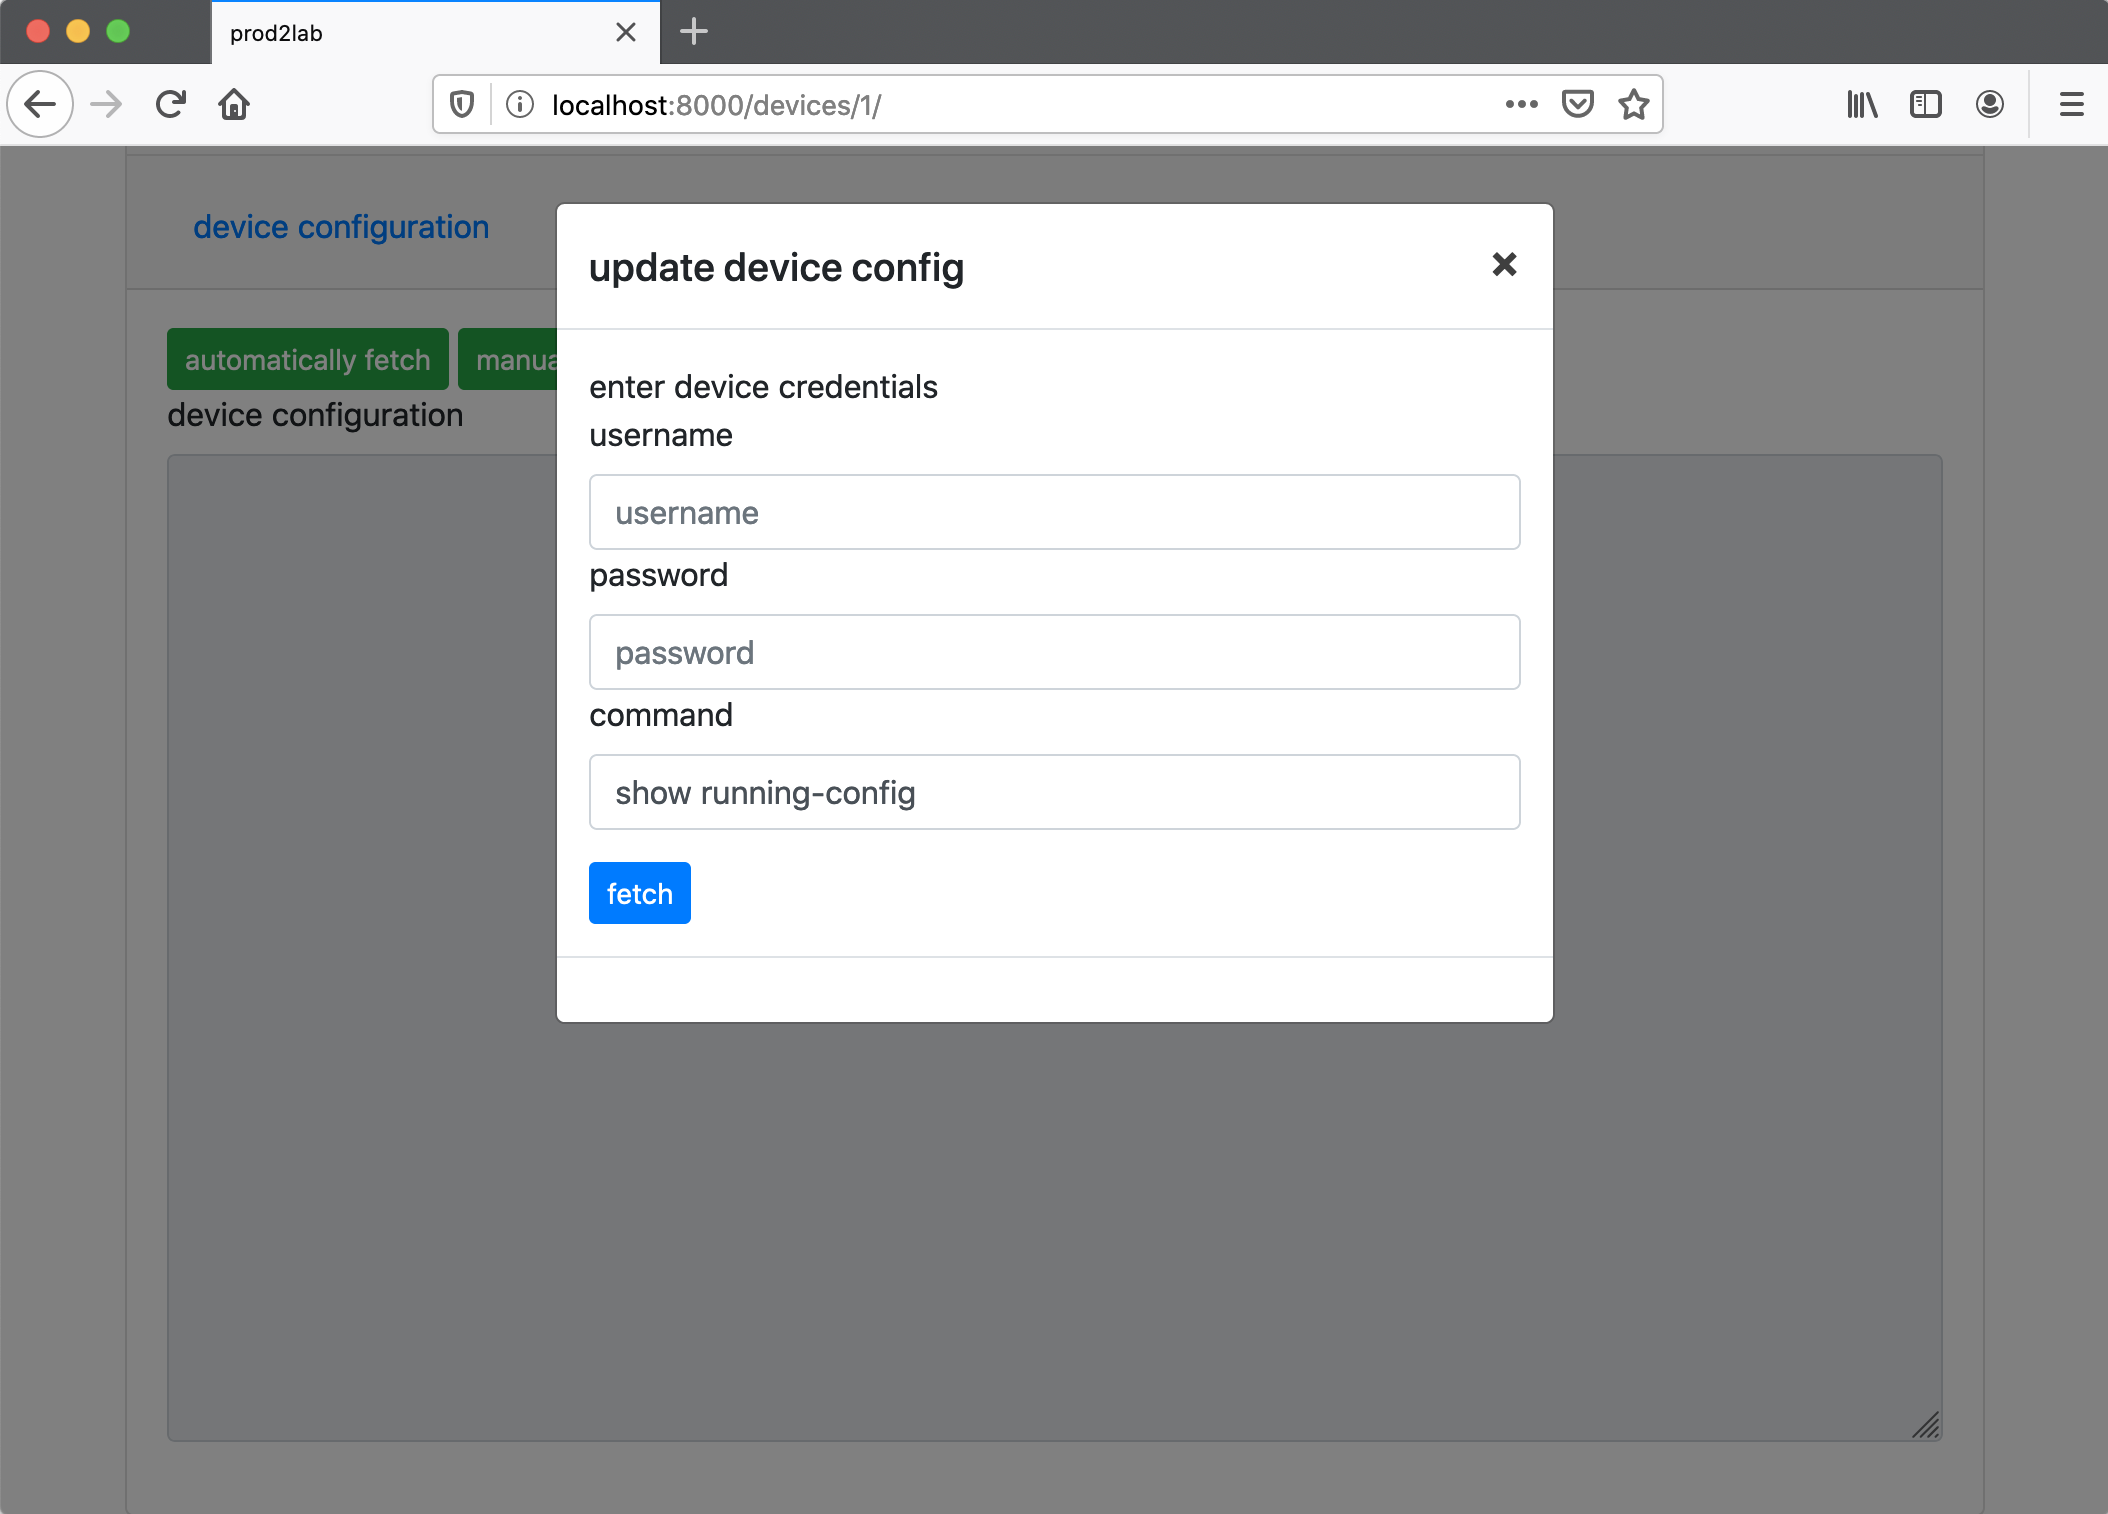
With a device pair created. You can now fetch a device from a production device or add a production config manually. For prod2lab to be able to fetch production configs, it must be able to SSH to the device. Otherwise, you’ll need to manually add the production config.
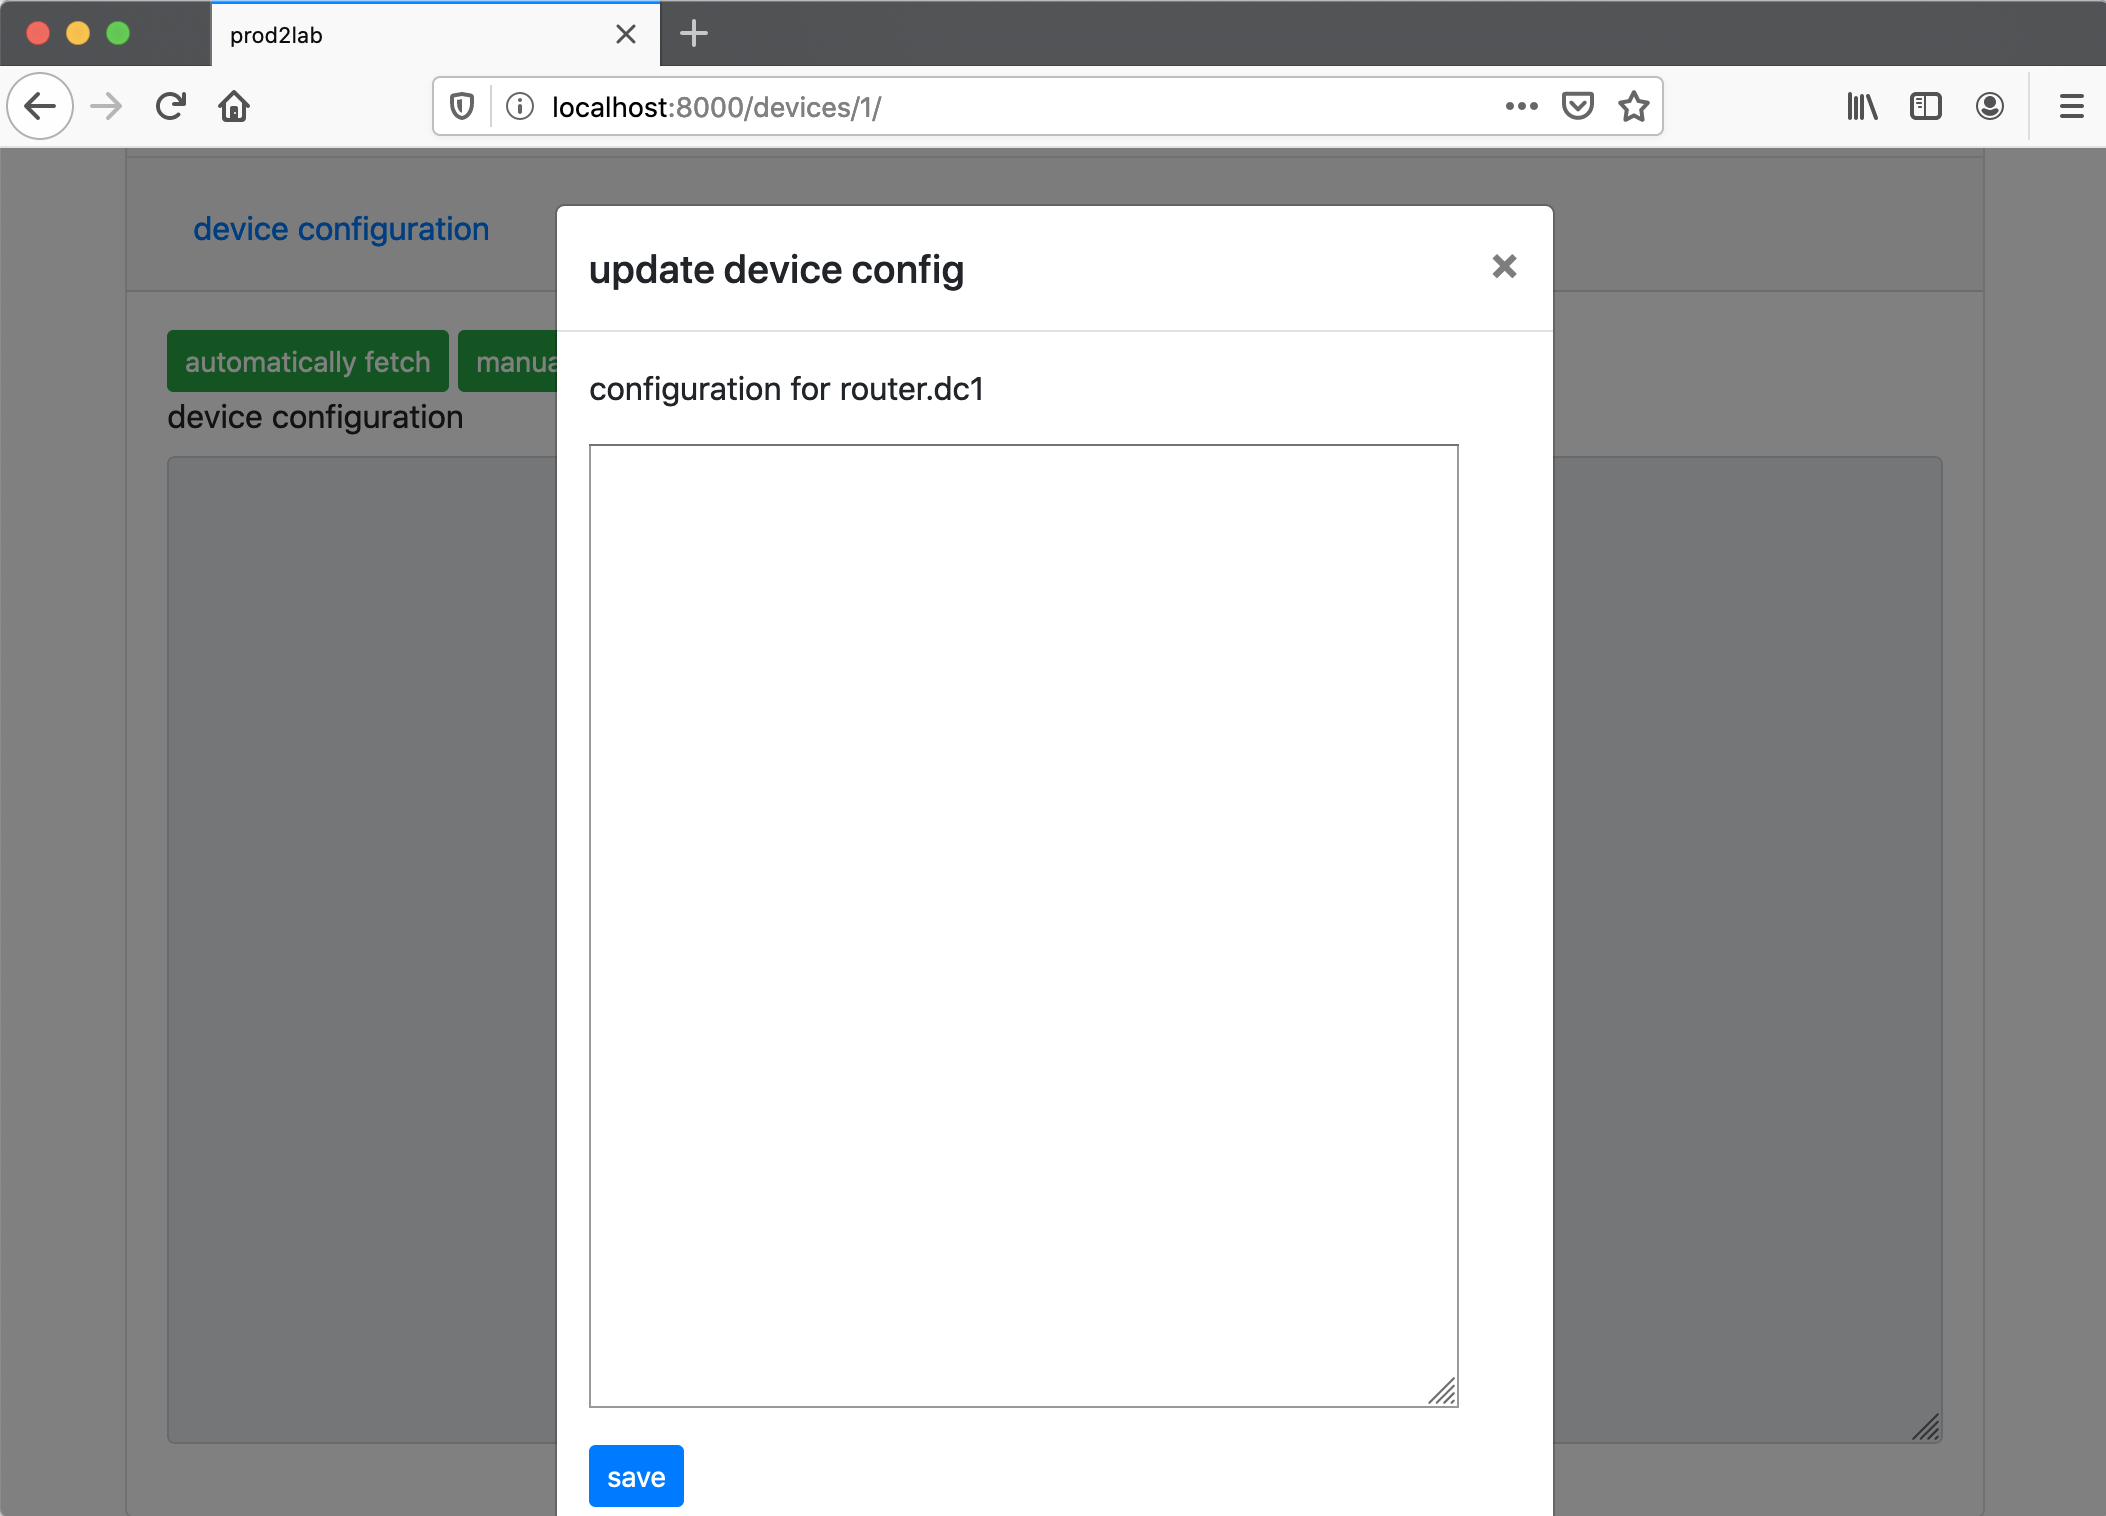
With a production config loaded, prod2lab can automatically discover the production device interfaces from its configuation or you can manually add interfaces.
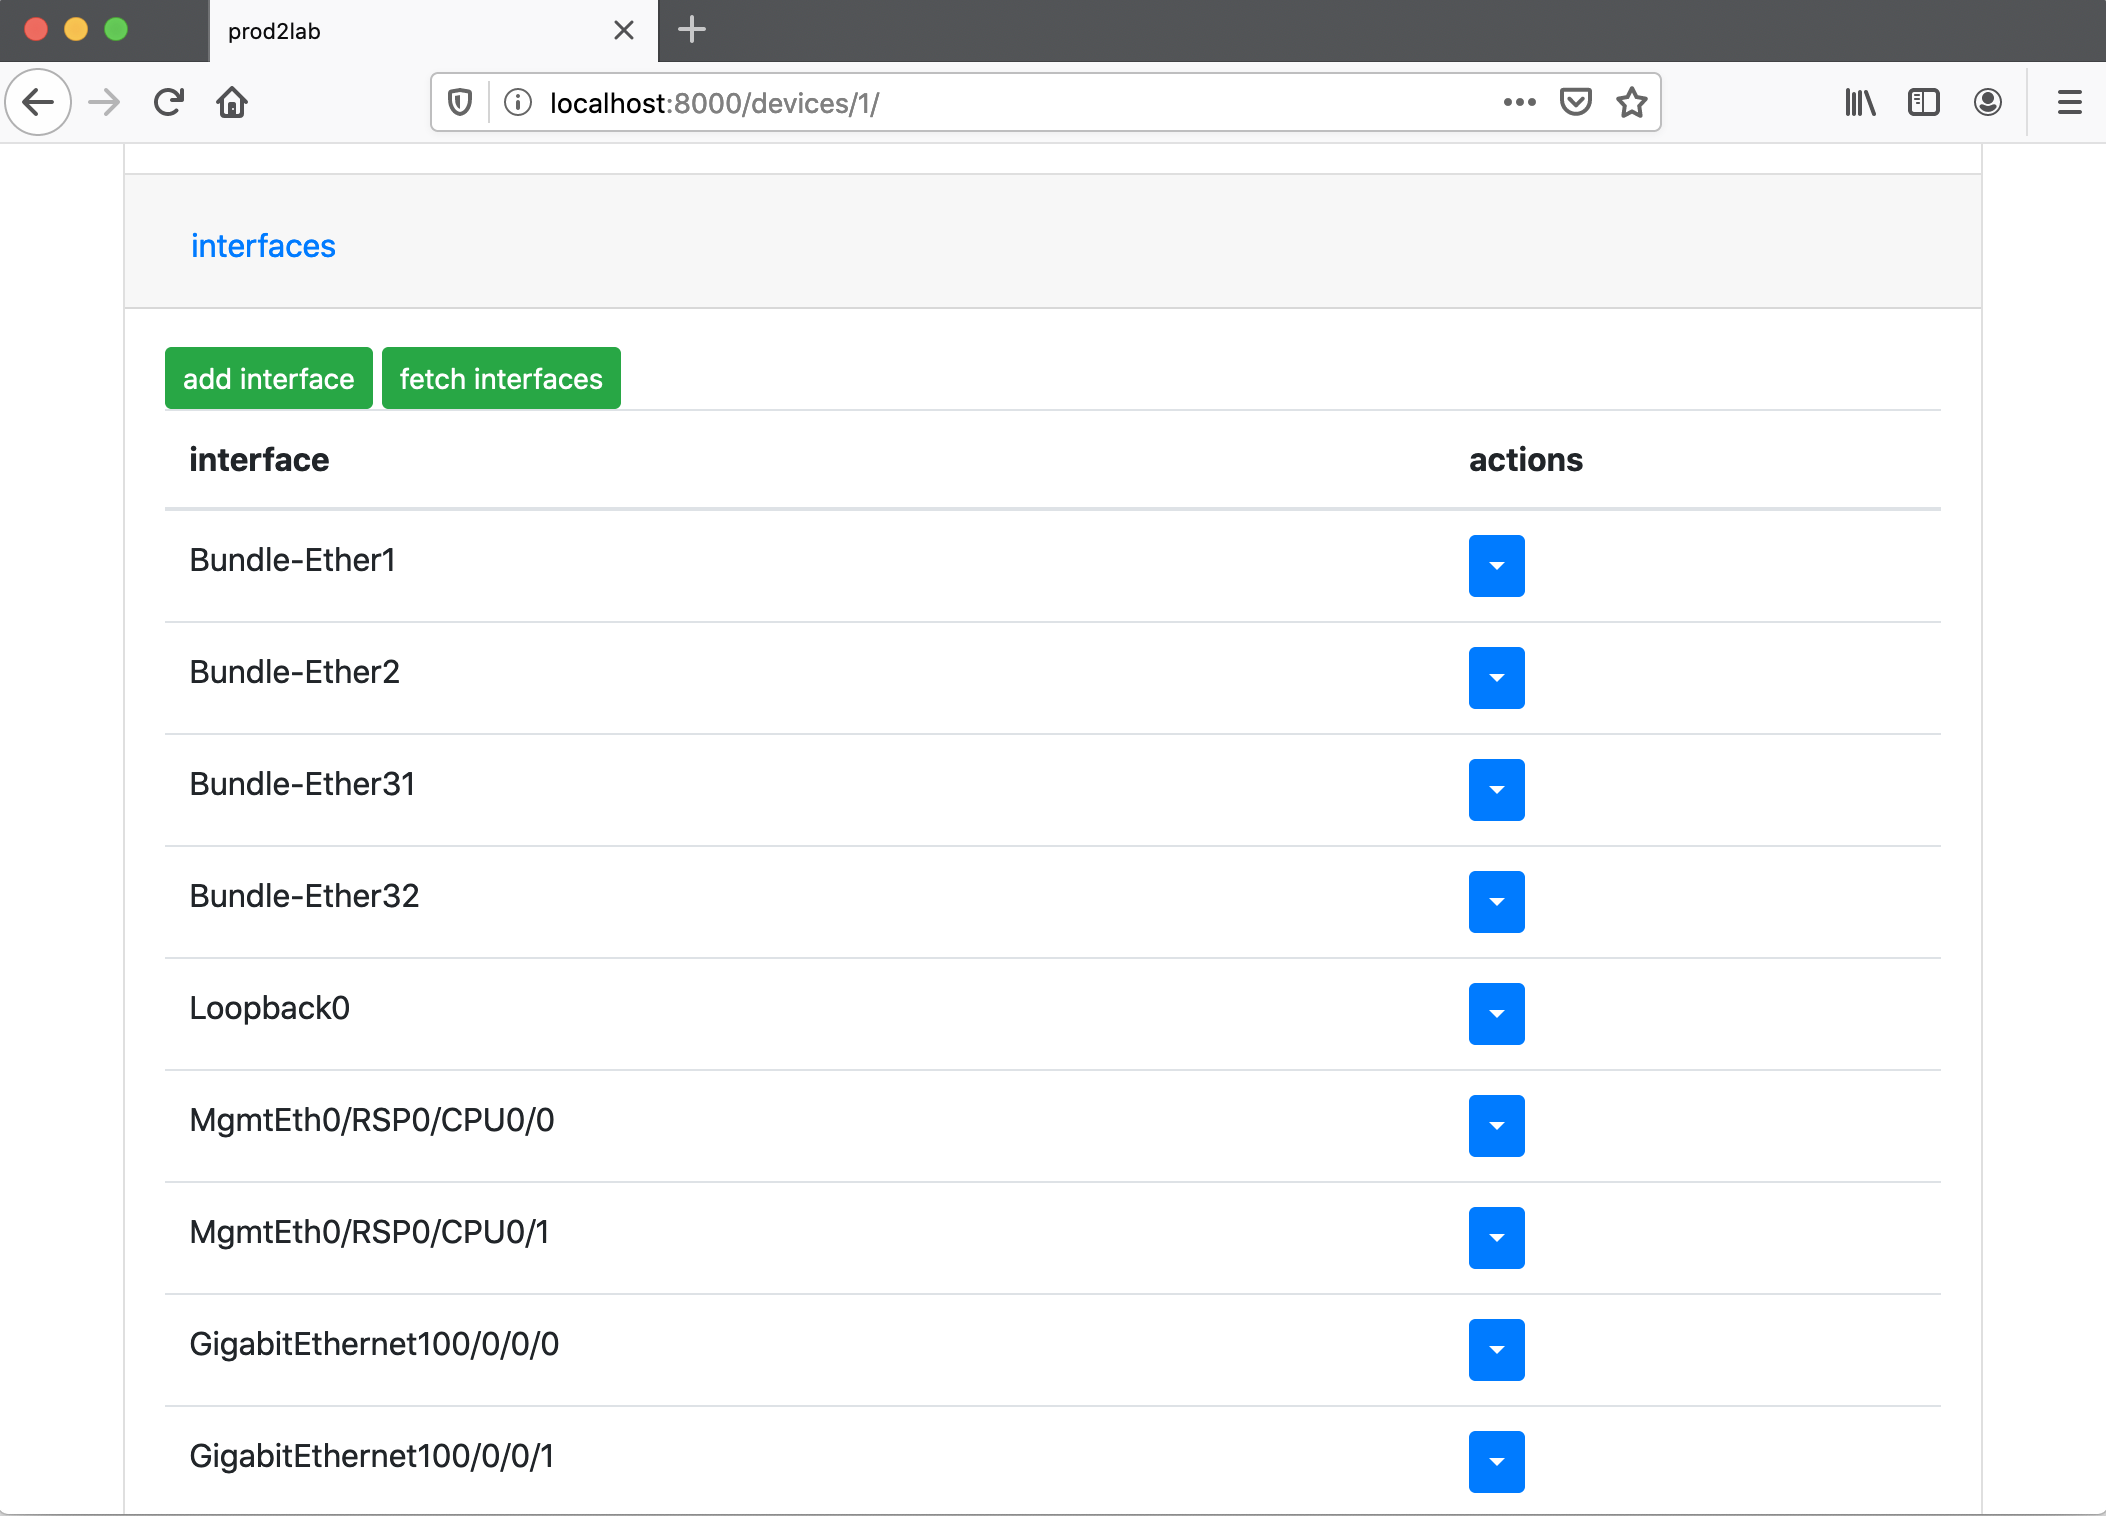
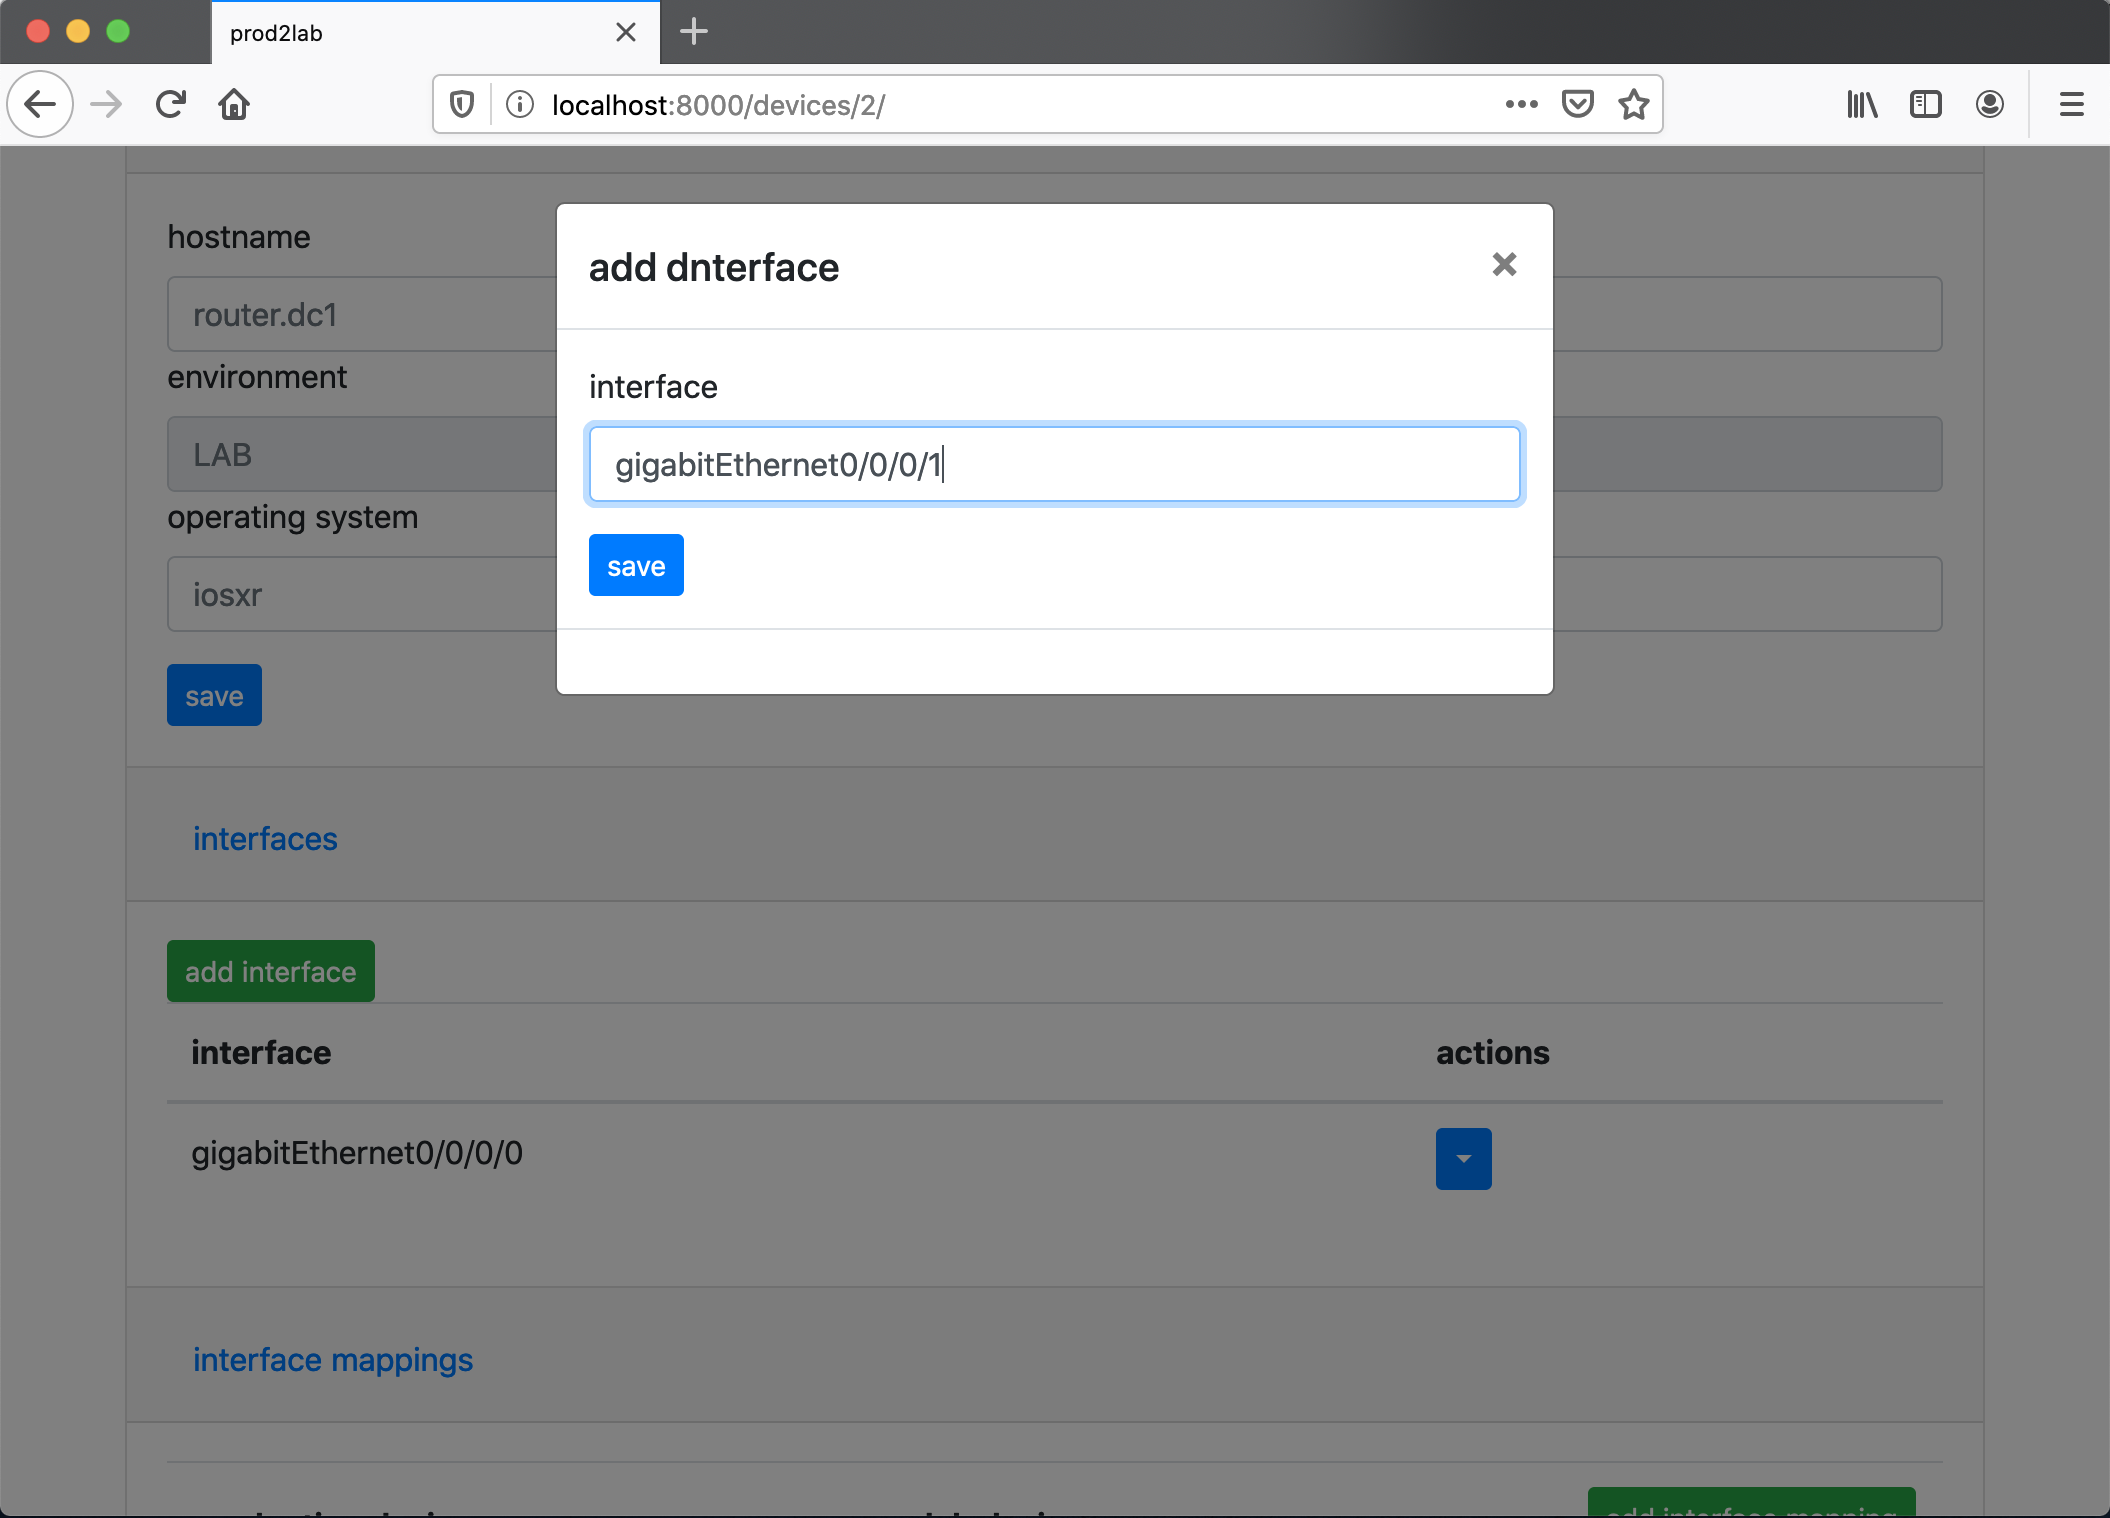
Next, navigate to the lab device and add interfaces.
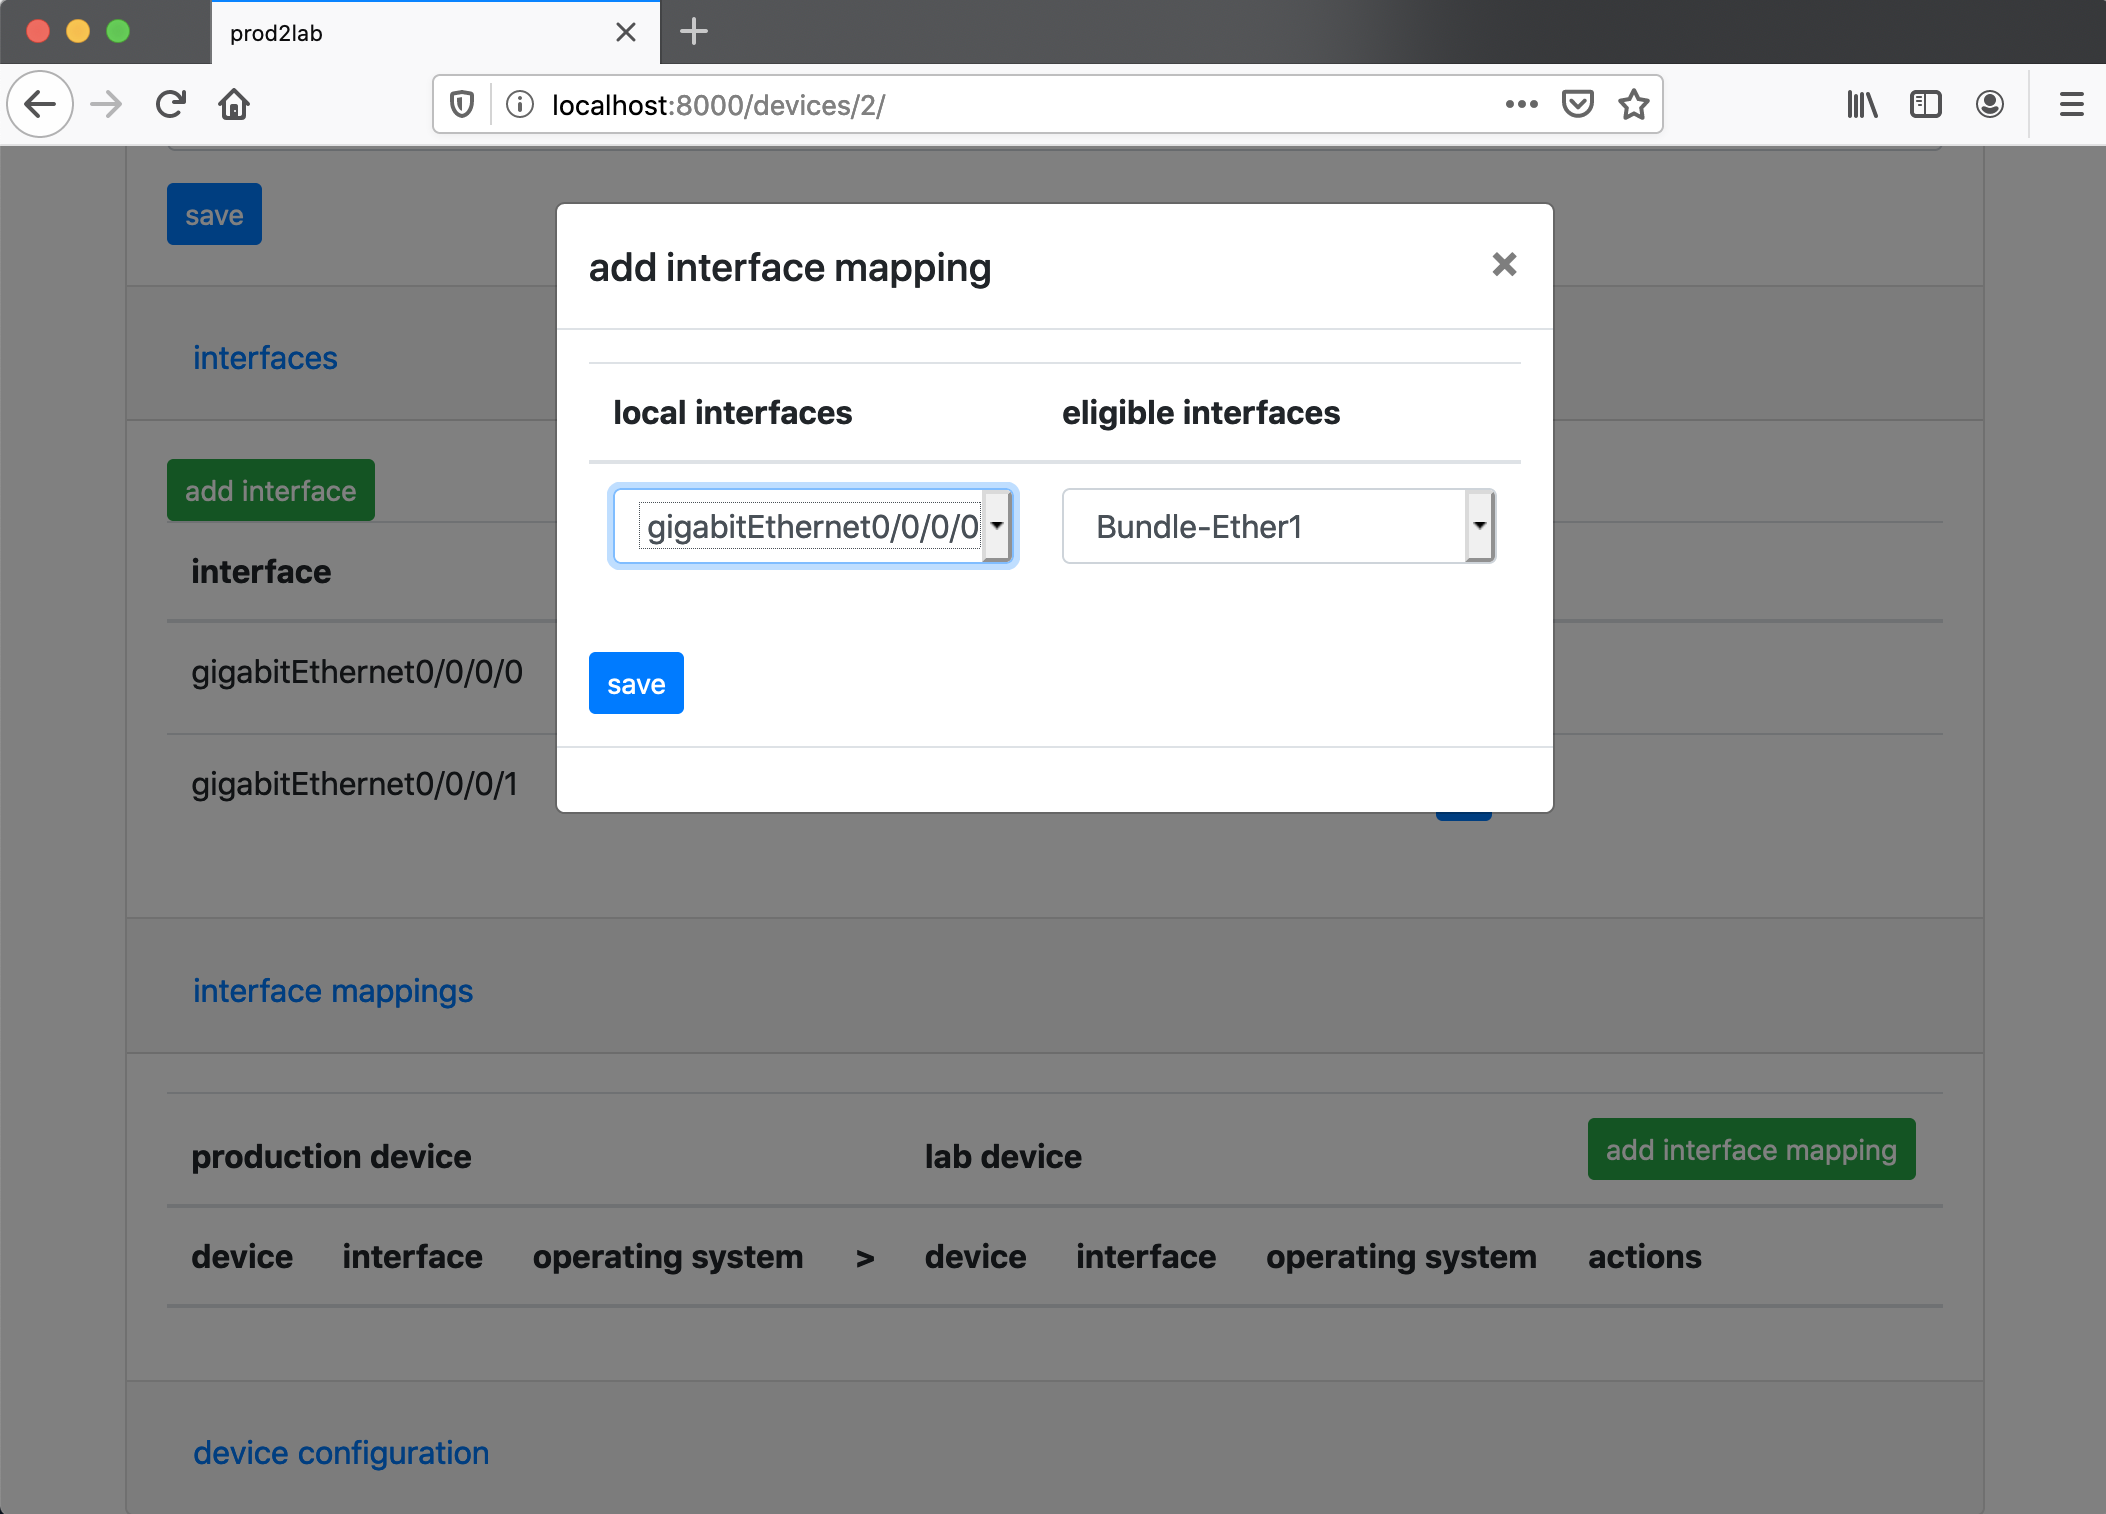
With production interfaces and now lab interfaces added, you can create the interface maps. This mapping is a one-for-one interface mapping between a production device and a lab device. Lab devices generally don’t have as many interfaces as production devices. When the lab configuration is rendered, it will automatically remove those interfaces.
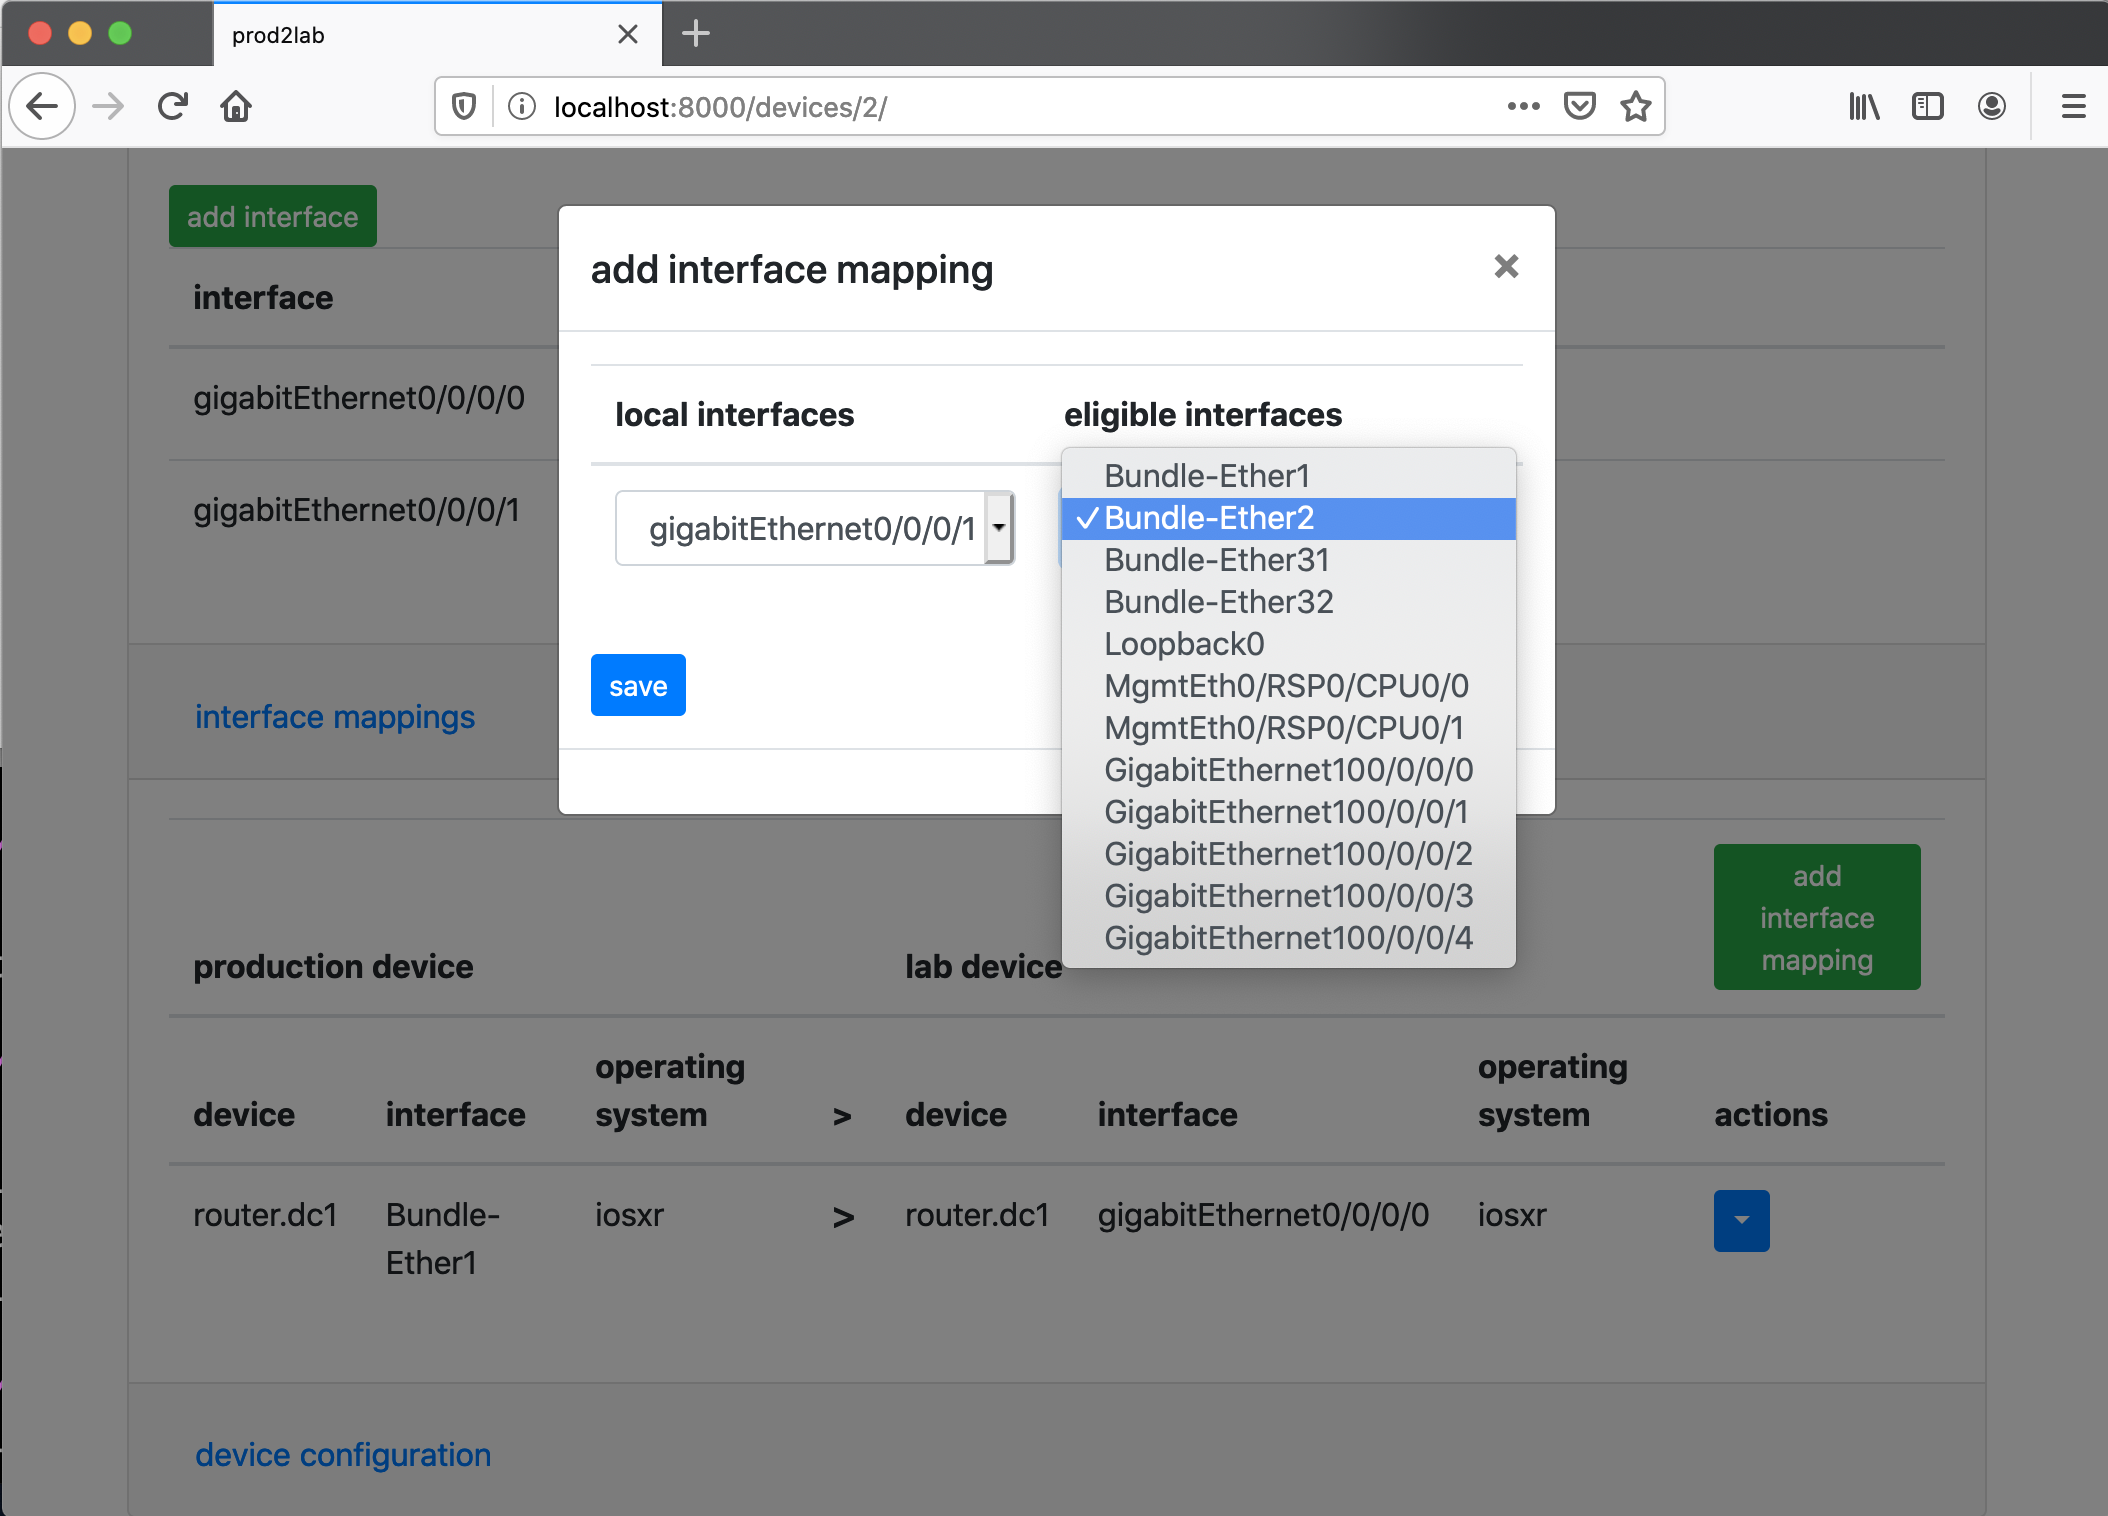
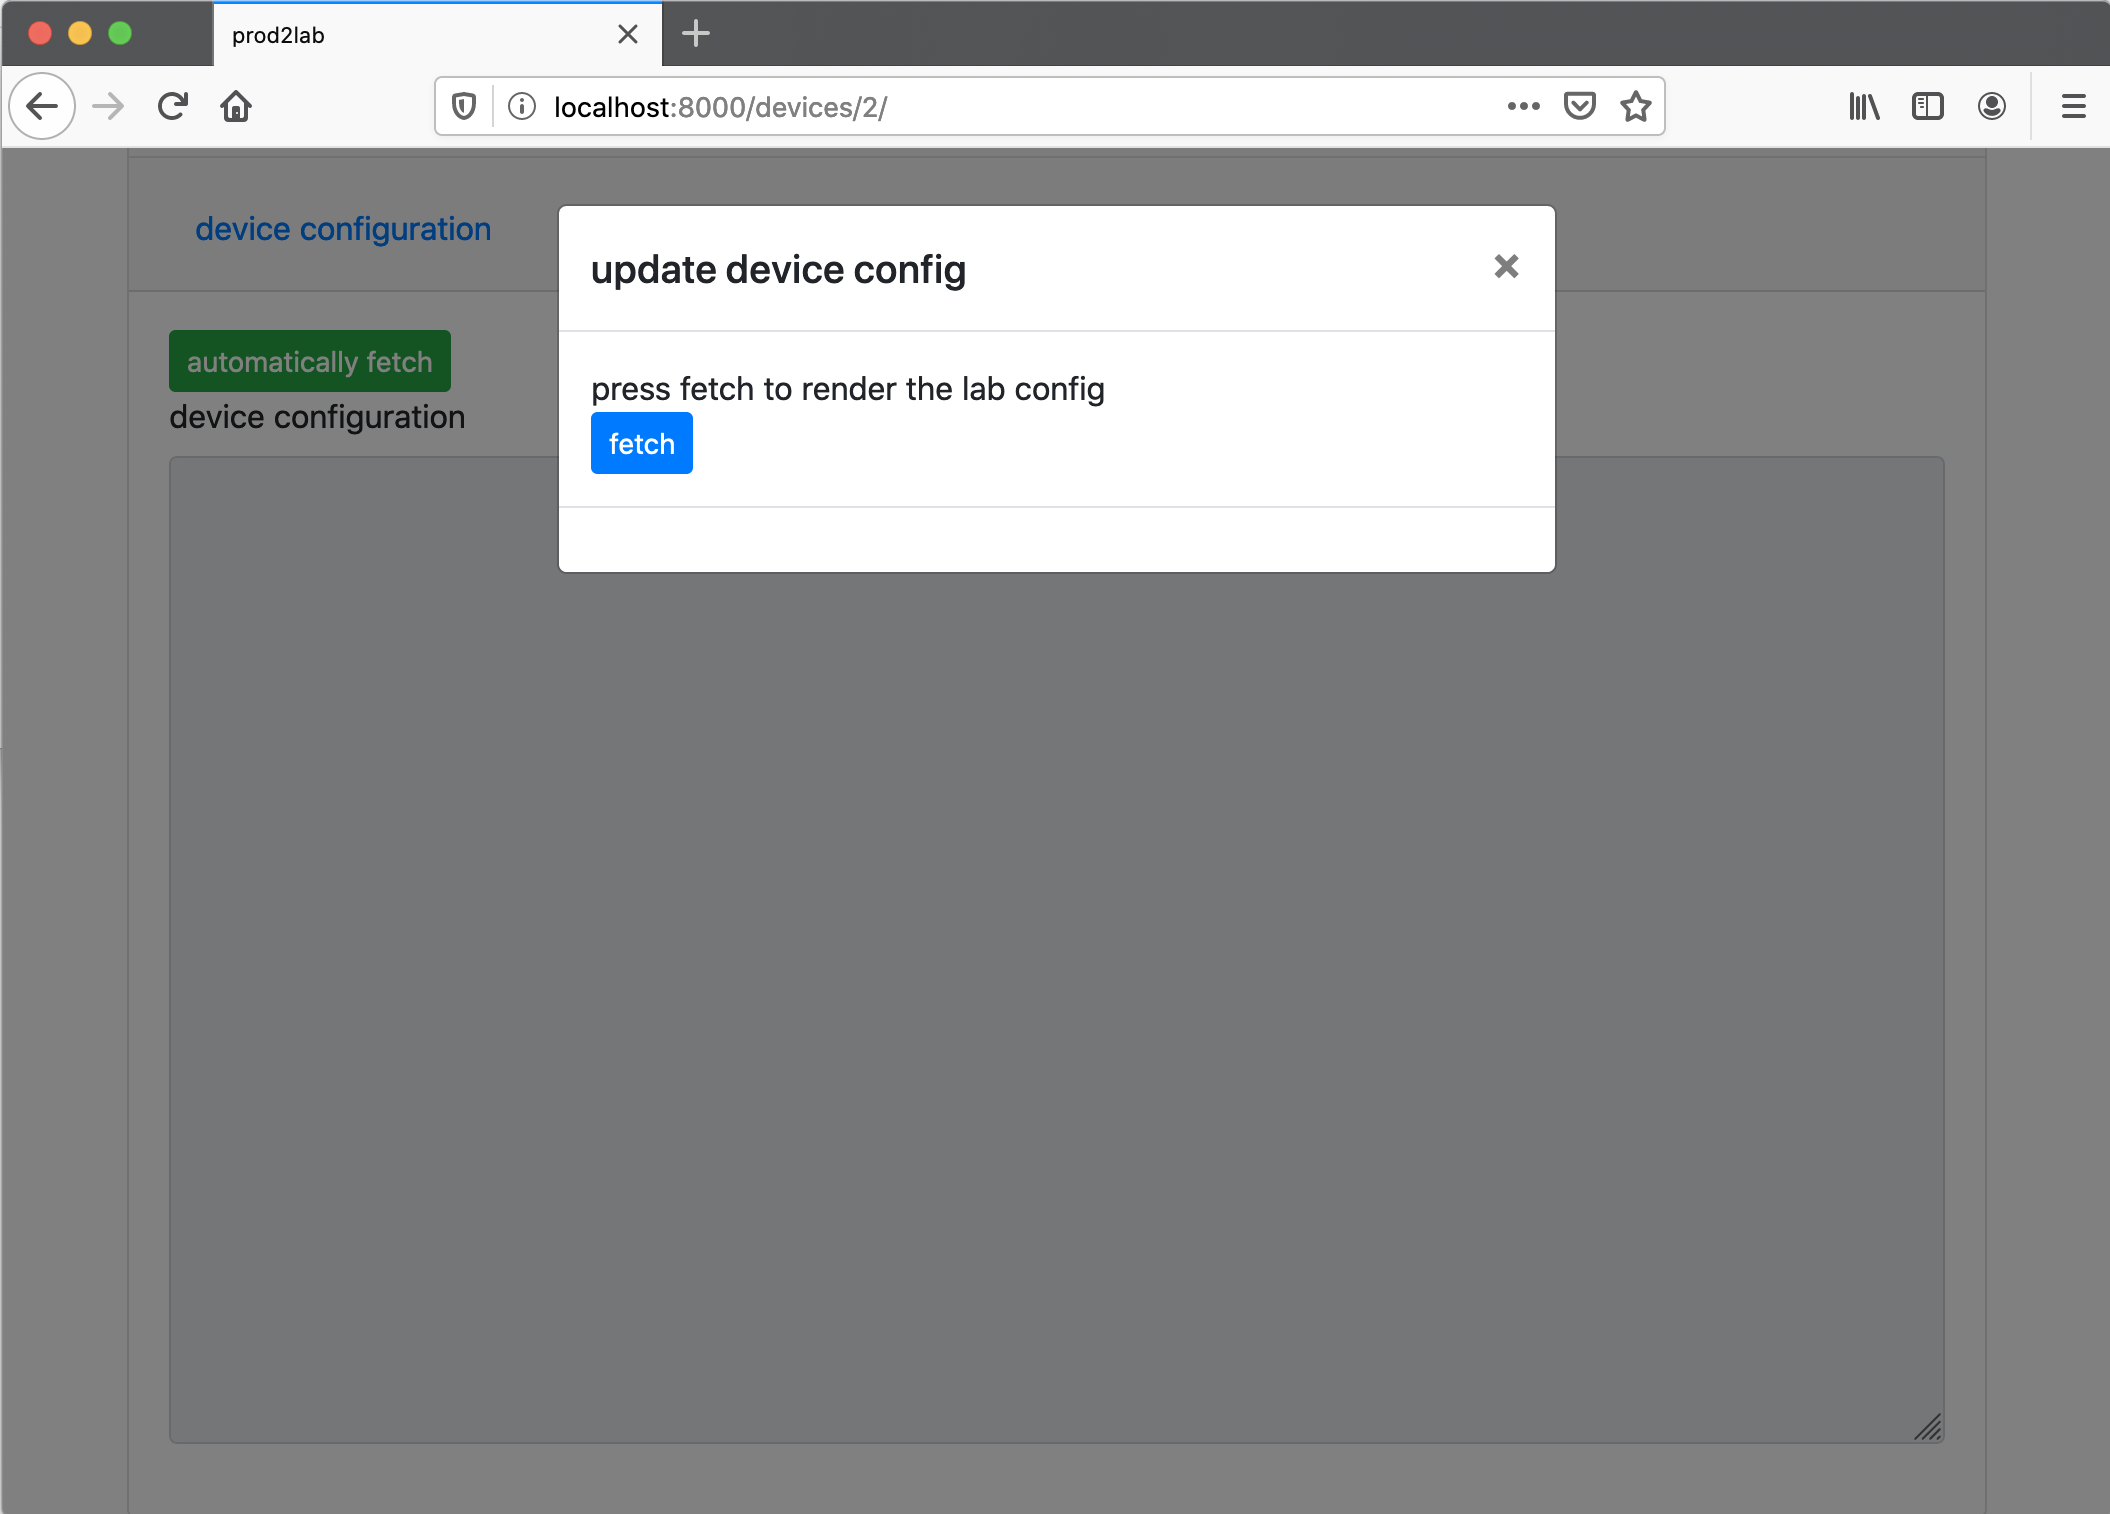
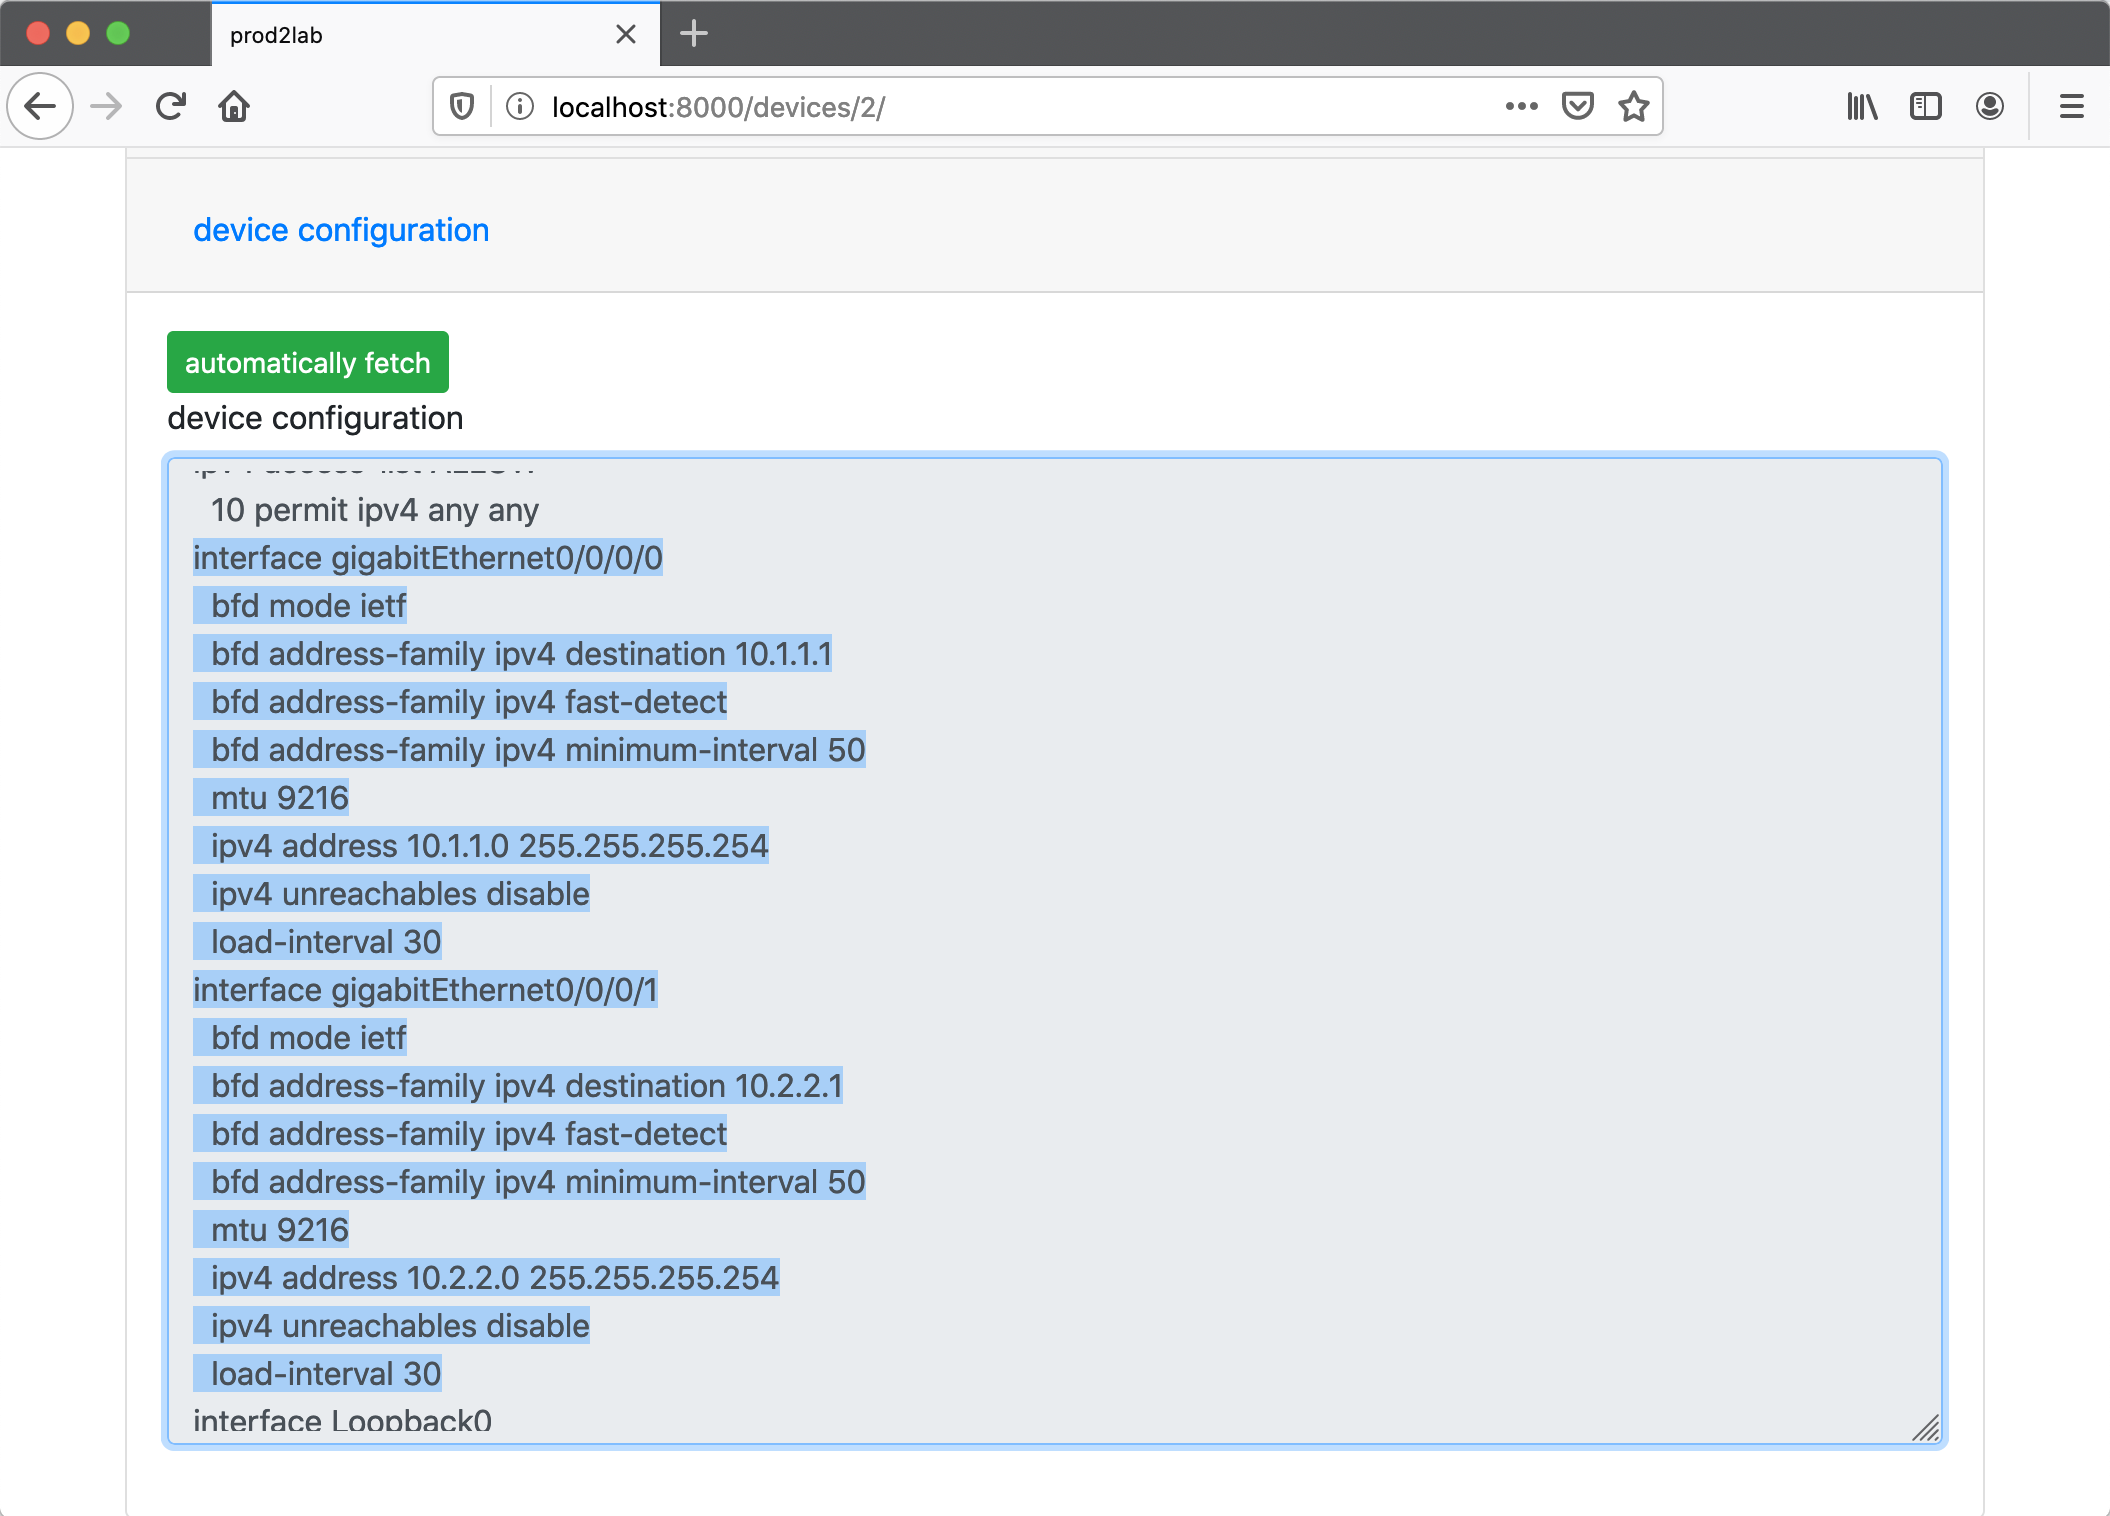
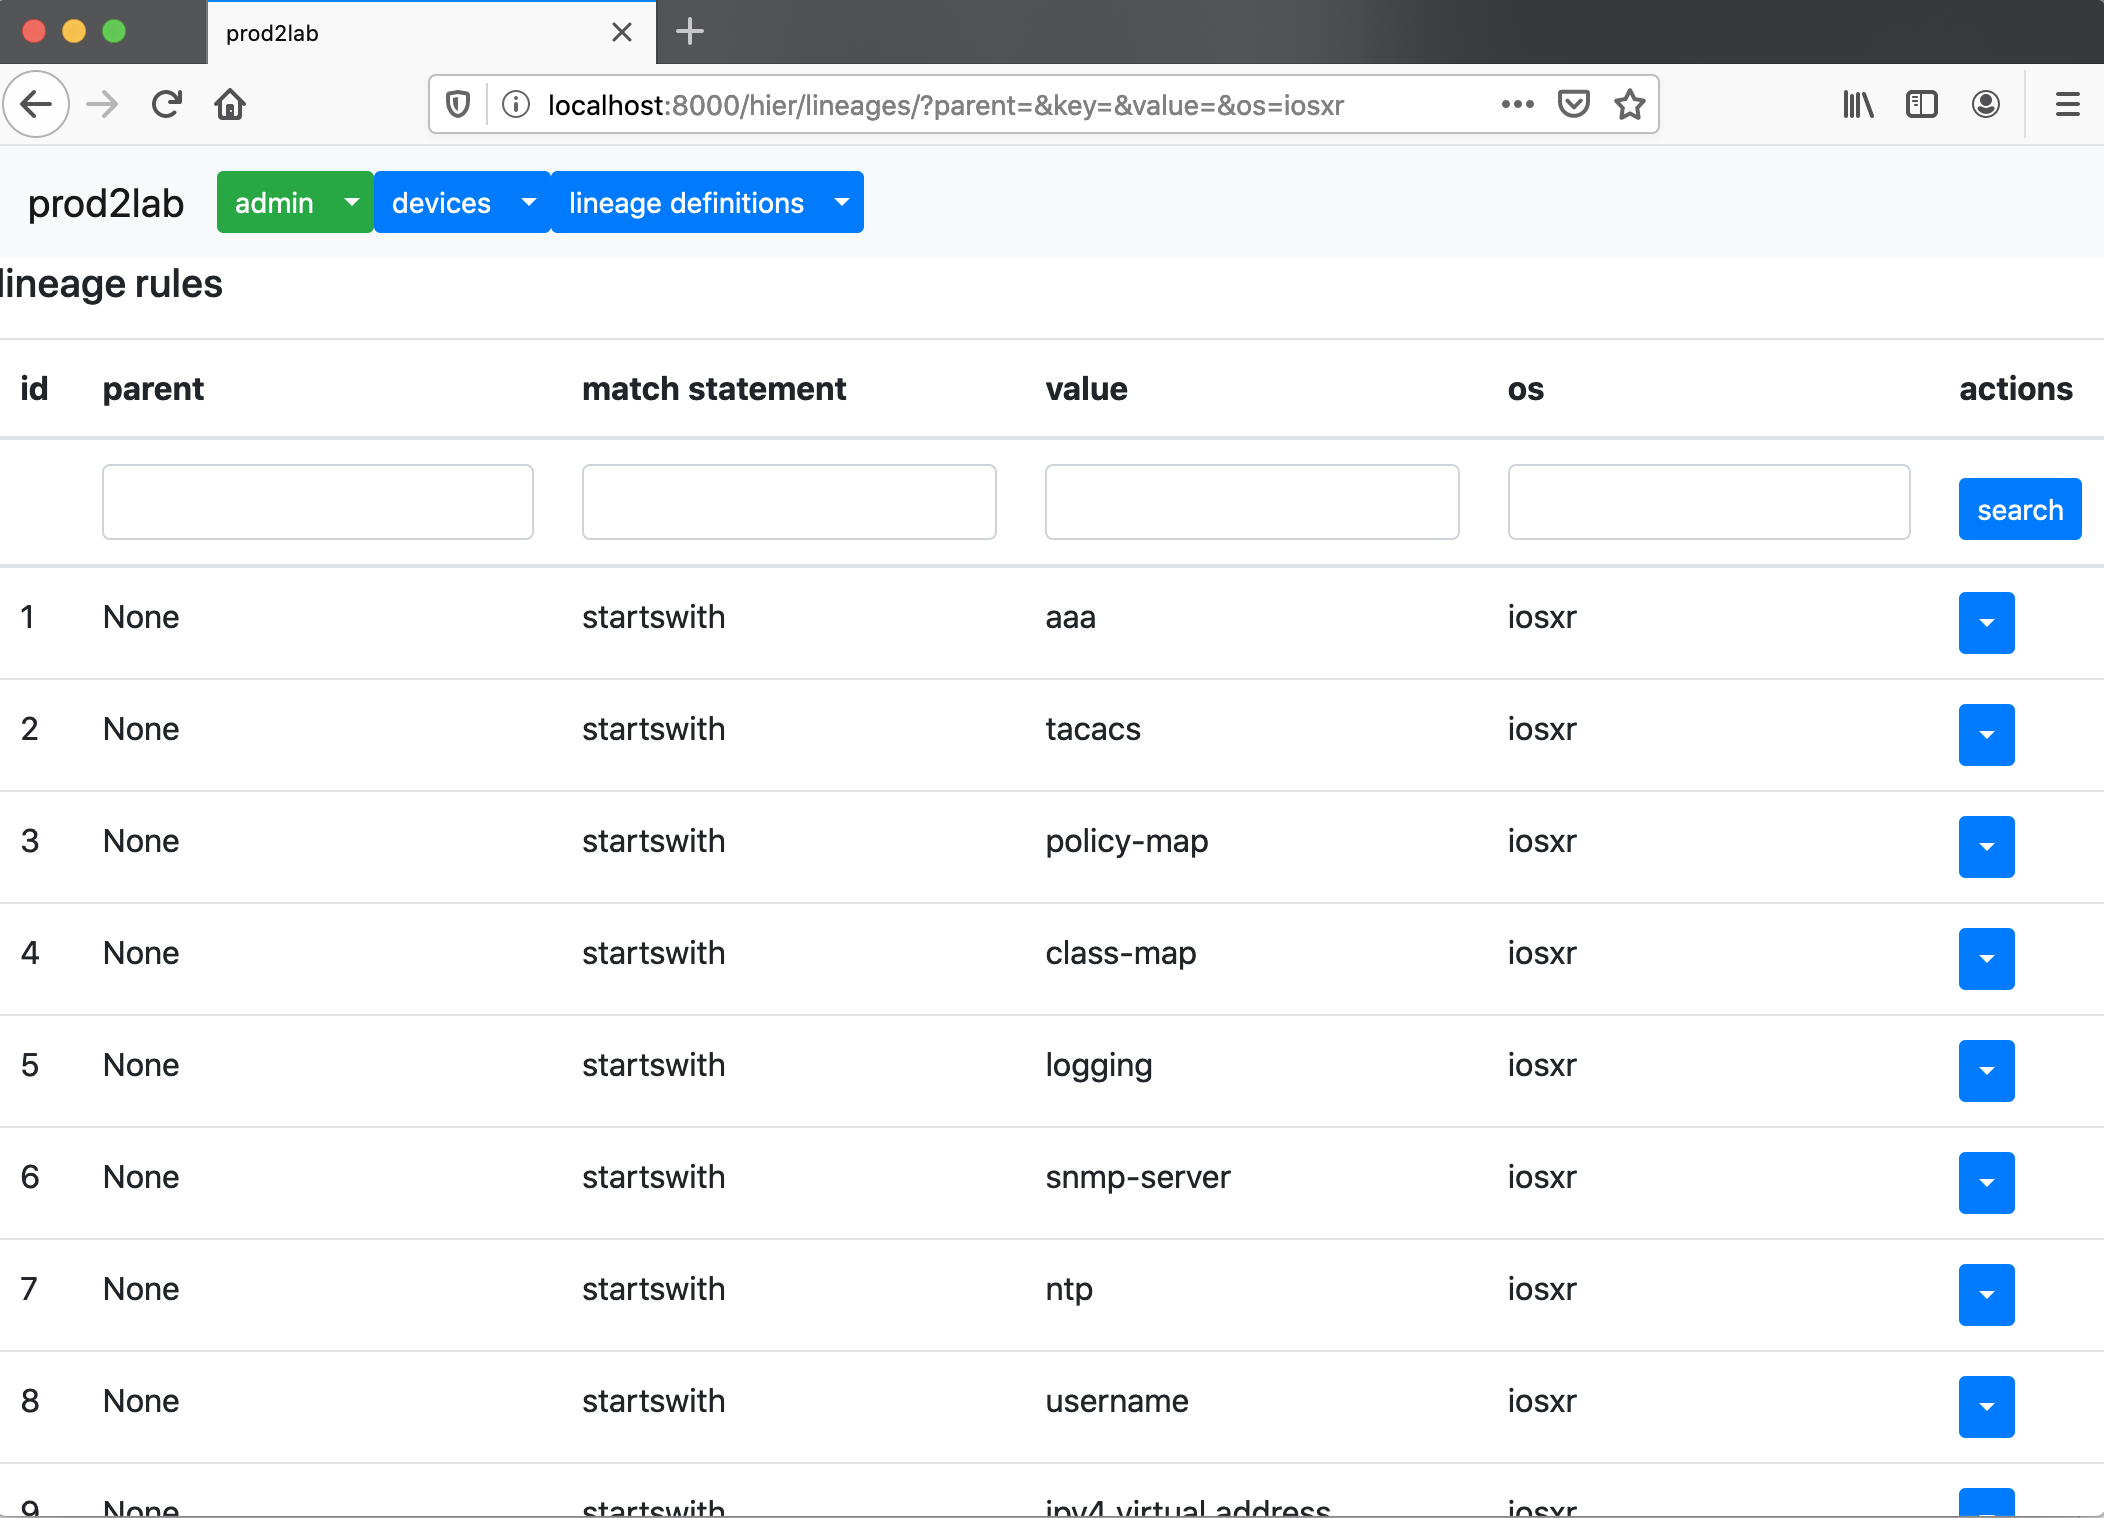
With the interface maps created, all of the prerequisites have been completed to create a lab device. Under the hood, prod2lab uses hier_config. To perform the interface mapping, prod2lab utilizes a hier_config option called per_line_sub, which searches an entire string for a string and replaces it. Prod2lab also creates an ignore tag to find configurations that are not needed for the lab. By default, I strip out items such as tacacs, aaa, logging, snmp, ntp. Prod2lab also has a section that allows a user to define their own sections of configuration to match against and ignore. What’s rendered is a configuration that a user can push to thier lab device.
hier_config lineage UI
That’s it! It’s still a pretty new project, but I expect that this is going to save my team a ton of time keeping a lab in sync with production. In the future, I expect that the solution will be fully automated. My roadmap includes using the celery scheduler to fetch production configs on regular intervals, automatically render lab configs, and automatically push lab configs to lab devices.